For Mac users like me, Python comes pre-installed. However, even Mac users can’t get everything they need straight out of the box. That’s because the included Python libraries are pretty basic, so to create anything sophisticated you’ll want to take advantage of third party packages. You could manually install them from the Python Package Index (PyPI) using pip and create a runtime environment yourself, but it’ll take a significant amount of time and effort.
Or you could just get a pre-built version of ActiveState’s ActivePython, which bundles a version of Python together with hundreds of popular packages. You can also build your own custom version with just the packages you need. Both the pre-built and custom versions of ActivePython are available on ActiveState’s SaaS-based “Language as a Service” platform, the ActiveState Platform.
In this blog, I’ll introduce you to ActivePython, explain how to build and install it, and discuss its advantages and disadvantages.
Who Is ActiveState?
ActiveState has long been known as “The Open Source Languages Company” due to its 20+ year history of creating enterprise-grade open source language distributions. Compared to community versions of open source languages, they offer cross-platform consistency, commercial technical support, security and license reviews, as well as indemnification to help companies adopt languages faster and with more confidence.
While ActiveState is probably best known for providing an easy-to-use version of Perl for Windows (ActivePerl), their products also include ActiveTcl, ActiveGo, and the popular Komodo IDE development environment in addition to ActivePython.
ActiveState Platform for Python
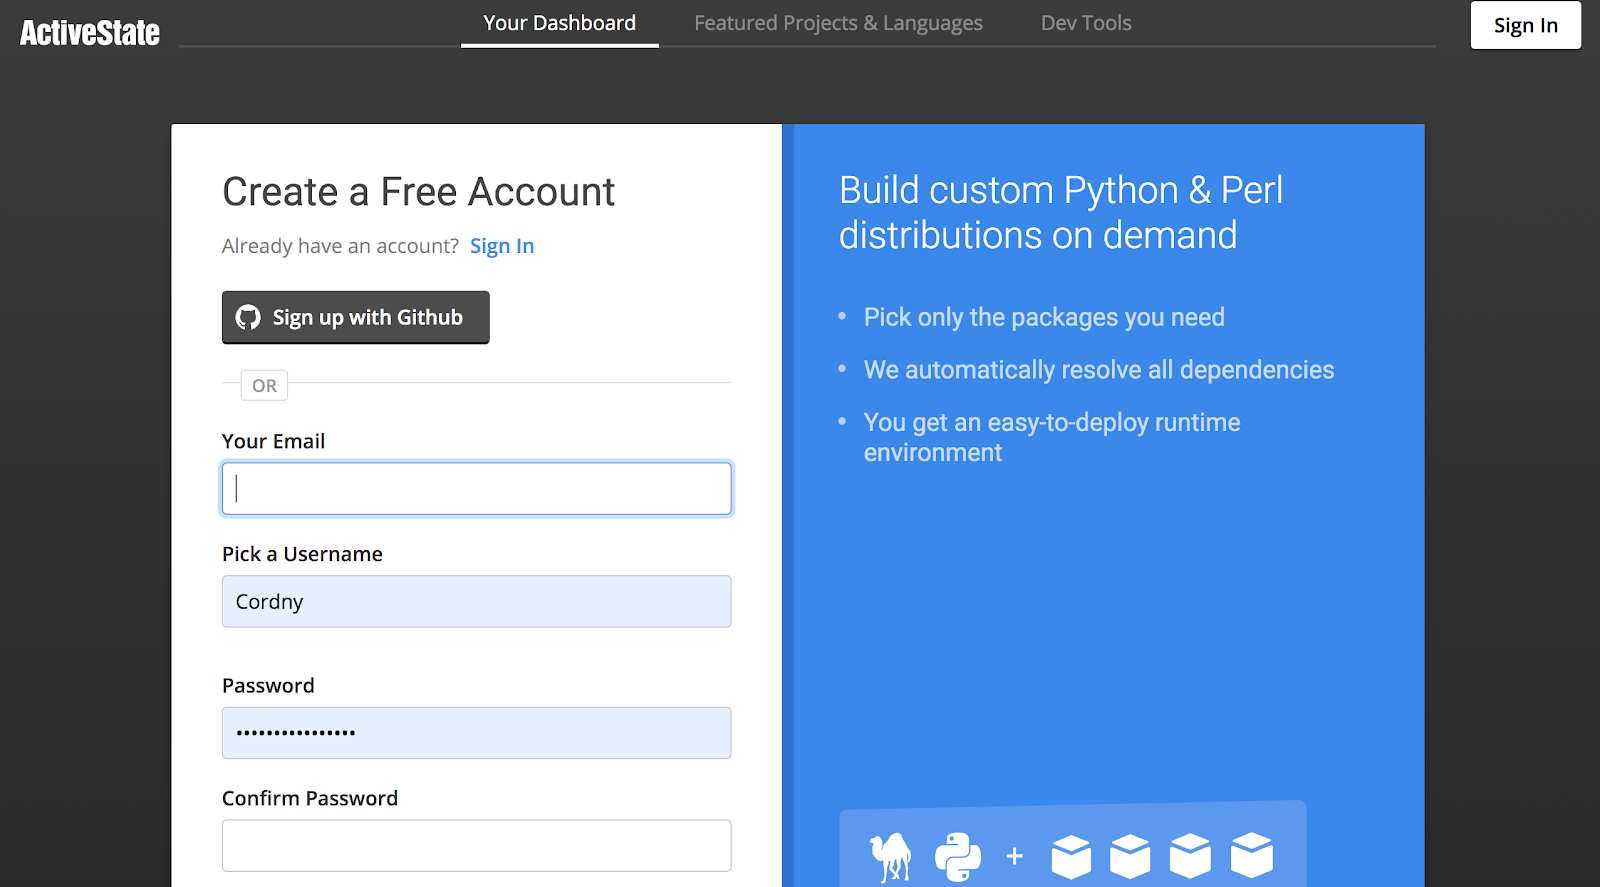
You can get ActiveState’s version of Python by creating an account on the ActiveState Platform. Start at platform.www.activestate.com/create-account, and then either create a username and password, or login with your GitHub credentials.
Wait, I have to create an account to get a free download? Yes, you’ll need to provide your email in order to download ActivePython (except the Windows MSI version). But in exchange, you get access to ActiveState’s Python ecosystem, which can make building, installing and working with Python easier (more on this later).
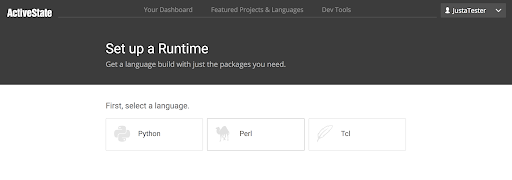
After you log in, you’ll see the ActiveState dashboard. The dashboard displays your projects, any organization you create or belong to, and the option to create a new runtime environment, which allows you to create a custom distribution of Python that contains the version of Python you want, along with just the packages your project needs.
Here’s an example:
As you can see, the user “JustaTester” belongs to the organization “Activepythontesting” and has a project called “Justatester-runtime.”
You can group projects and the users who are permitted to access them under “Organizations.” Every project belongs to an organization, and every organization can have more than one member. You can create or join more than one organization. Organizations offer a simple way to onboard other developers to help with your project, since they can just download and install your ActivePython environment – no need to create a readme and follow it to manually install all the packages they’ll need.
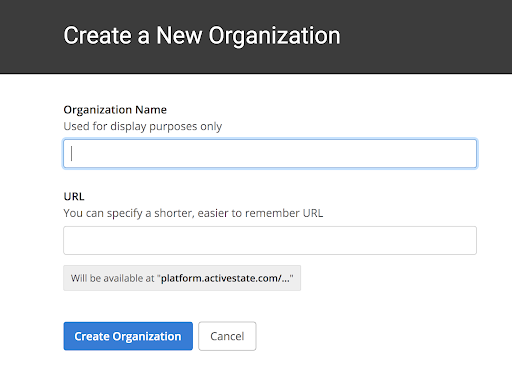
Creating an organization is quite easy. All you need to do is choose a name and a url:
How to Create a Python Runtime Environment
Now let’s set up a Python runtime environment! A runtime is really just a version of Python, plus all the packages your project needs, packaged together in an installer for Windows, Linux or Mac.
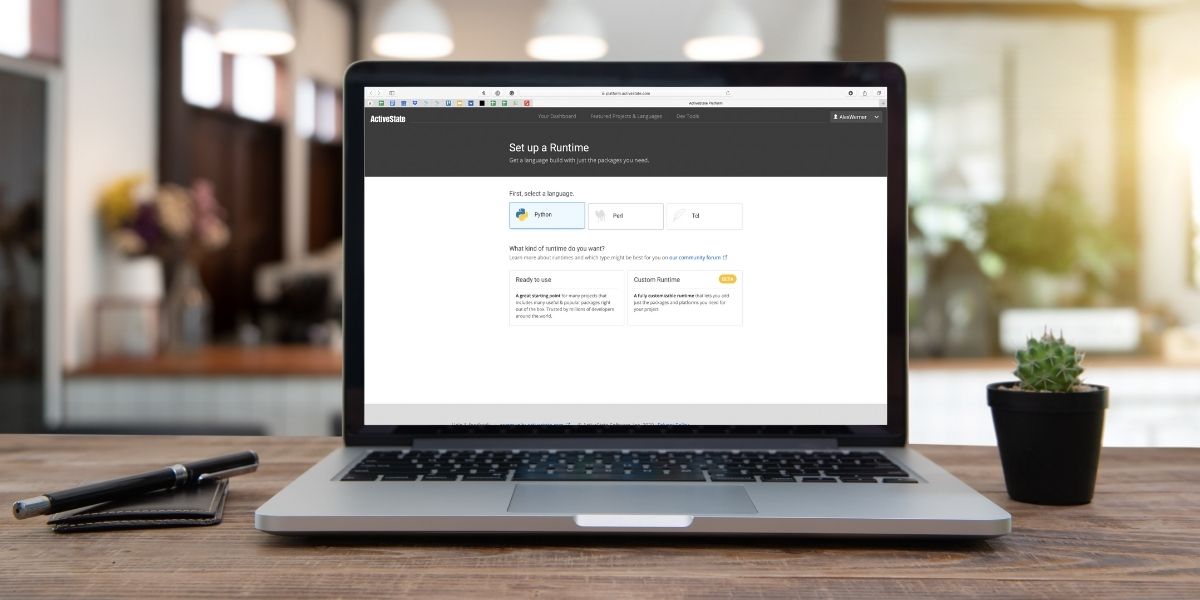
First, navigate to the dashboard and click on “Set up a Runtime.”
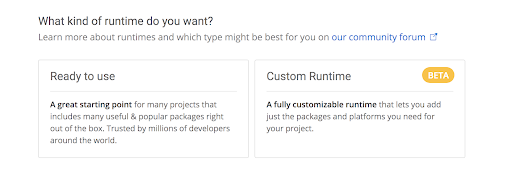
Select Python as the language, and now we have a choice to get a “Ready to use” environment, or else build your own “Custom Runtime” environment.
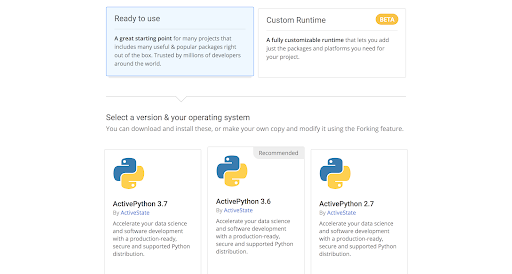
If you click on “Ready to use” you can choose between pre-built environments for Python 2.7, 3.6 or 3.7. These are “general purpose” environments that contain hundreds of packages, most of which you’ll probably never use.
So instead, let’s click on “Custom Runtime” instead, and select 3.6.6 as the version:
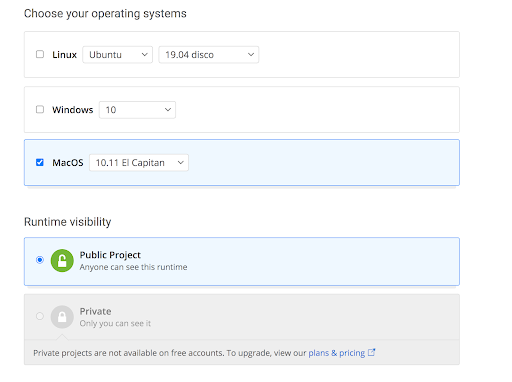
Choose your operating system and your runtime visibility. Note that you can only choose the private option if you have a paid account.
You can change the default name to something that better fits your project, and then click the Create Runtime button to submit your project.
How to Add Packages to a Python Environment
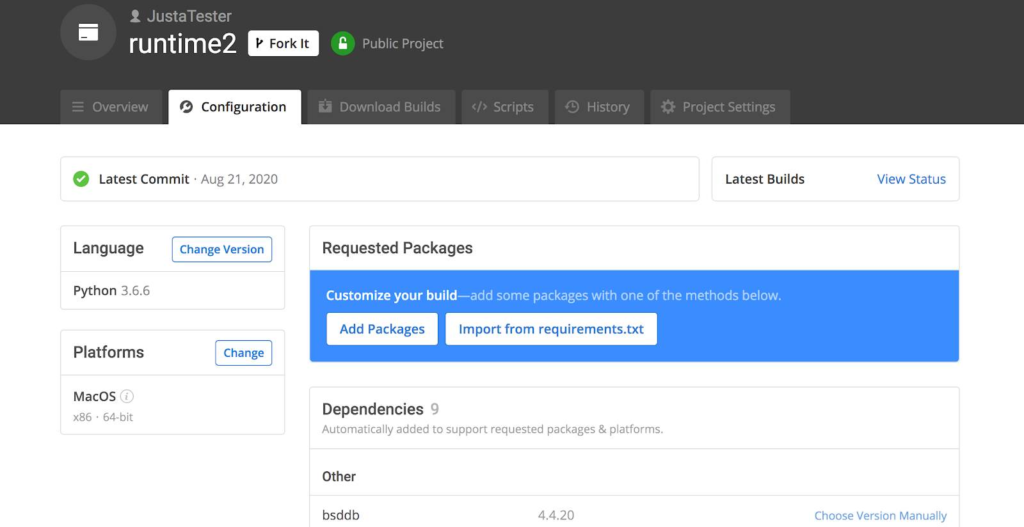
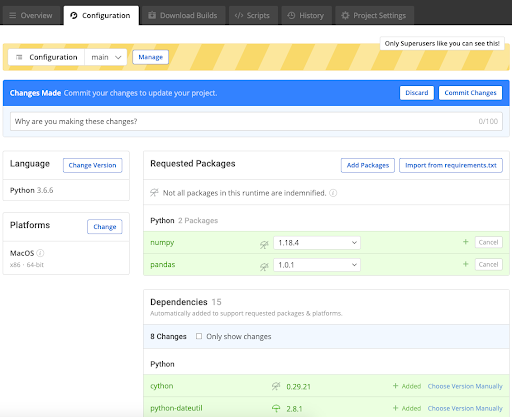
Now that we’ve configured the basics, we can add whichever Python packages we need to our runtime environment. As you can see in the screenshot below, the dependencies for our basic configuration were added automatically. When we add more packages, their dependencies will automatically be added to the runtime environment, as well.
Let’s say we want to add the numpy and pandas packages. This can be done by clicking the “Add Packages” button, searching for and then adding each one, or else by clicking the “Import from requirements.txt” button if we have a requirements.txt with pandas and numpy already listed in it.
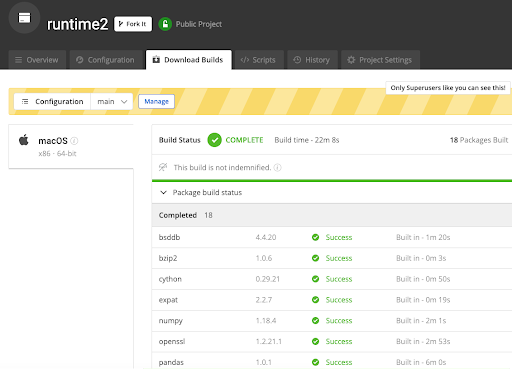
Now we can click the “Commit Changes” button to create a snapshot of this configuration, just like a git version. The Commit button changes to a “View Status” button. Clicking on it lets us watch how the ActiveState Platform builds all the packages in our environment from source code. Since the ActiveState Platform is basically a build farm in the cloud, it might take a couple of minutes for it to spin up all the build environments required, but here is what you will see after it starts building:
Some of the packages have been previously built, and were pulled from cache almost instantly. Others required a few minutes to build each. When the build is complete, you can click on the “Download Builds” tab to download the MacOS package for creating your runtime environment on your machine.
Alternatively, you can install your Python runtime environment using a CLI tool called State Tool. The State Tool automatically creates a virtual environment for you (no need to use virtualenv), but it’s still in beta so we won’t discuss it in detail here. If you want to know more about it, you can take a look at the links under the “Further Reading” heading at the end of this blog.
Now you have built your first Python runtime environment with the ActiveState Platform!
Should You Choose ActivePython?
If you prefer to just install pre-built binary packages instead of building them from source code, especially if you just have few packages or you’re working on your own, building a version of ActivePython on the ActiveState Platform may not seem all that compelling.
However, if you do build Python packages from source, especially those that have linked C or Fortran libraries, the ActiveState Platform is often a lot faster and easier to work with than doing it all by yourself. Tasks that take quite some time to do manually (such as compiling, checking dependencies, and other tedious tasks subject to human error) are all done automatically by the ActiveState Platform, in this case in about 20 minutes.
In addition, ActivePython allows you to choose a target operating system and add verified, trusted, current, and popular packages to your runtime build. This saves a lot of time and hassle, since you can build your runtime environment for all the operating systems your team works with at the same time – Windows, Linux and Mac – without needing to have packaging expertise for any of them.
You can get all that for free, plus the ability to fork, roll back and merge changes between versions of your environment. And there’s no vendor lock-in, because Python is an open source language.
Does ActivePython Have Any Cons?
As with every tool or framework, you have to weigh the pros and cons.
The ActiveState Platform is very straightforward to use, but you have to be careful when you customize your runtime. There’s no way to know if your chosen packages will build properly before you add them to your runtime. In fact, the only time you’ll find out is when an error is returned during the build process. It will probably take some trial and error before you get the right packages/versions that will build. For example, it took me three tries to get a buildable runtime environment when I added the pandas and numpy packages in our experimental build – but that’s still much better than doing the whole build manually only to find out hours later that something went wrong! And then trying to troubleshoot what went wrong…
Additionally, there’s currently no way to tell if the package you’re adding to your runtime has an already identified vulnerability against it. Packages can also be pulled from cache during a build, so it would be good to indicate whether they’ve been patched or not.
Editor’s Note: A CVE report feature, which shows which packages in your build have identified vulnerabilities will be available shortly.
Further Reading
- ActiveState on ActivePython
- State Tool Documentation
- Learn how to build a custom runtime for a Python project in 5 minutes:


