The problem is that PR is costly in terms of time and resources, and therefore only reserved for the higher impact releases. After all, many SaaS companies now have multiple releases to production on a daily basis, but failing to promote them is a lost opportunity to engage with your user base. Wouldn’t it be great to have a Slack bot that listens for these kinds of minor releases and automatically posts them to Twitter?
In this blog, I’ll show you how to build a Slack bot that monitors for keywords/keyphrases and automatically tweets out a message. We’ll need three pieces:
- A Twitter Bot to post our tweets
- A Slack Bot to listen for the content for our tweet
- A Flask Server to capture the Slack “content” events
- And then we’ll just connect everything up and give it a try!
Before you start: Install Our Twitter Bot Ready-To-Use Python Environment
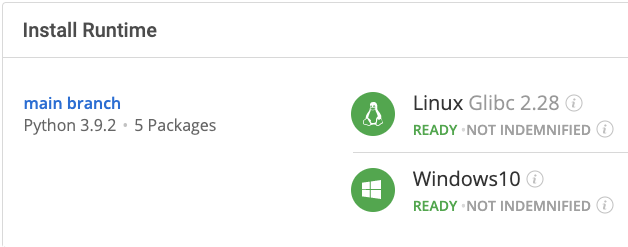
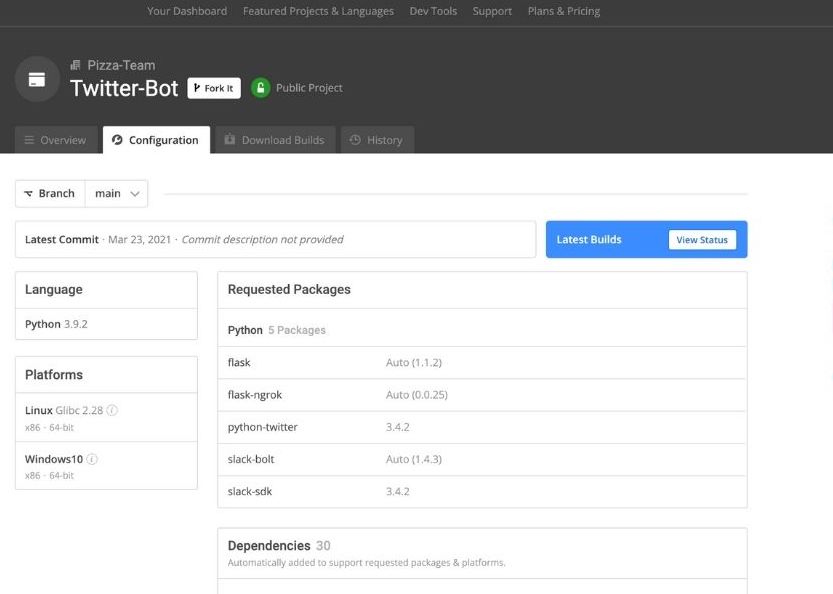
The easiest way to get started building your Twitter Bot is to install our Twitter Bot Python environment for Windows, Mac or Linux, which contains a version of Python and all of the packages you need.
In order to download the ready-to-use Twitter Bot Python environment, you will need to create an ActiveState Platform account. Just use your GitHub credentials or your email address to register. Signing up is easy and it unlocks the ActiveState Platform’s many benefits for you!
Or you could also use our State tool to install this runtime environment.
For Windows users, run the following at a CMD prompt to automatically download and install our CLI, the State Tool along with the Twitter Bot runtime into a virtual environment:
powershell -Command "& $([scriptblock]::Create((New-Object Net.WebClient).DownloadString('https://platform.www.activestate.com/dl/cli/install.ps1'))) -activate-default Pizza-Team/Twitter-Bot"
For Linux users, run the following to automatically download and install our CLI, the State Tool along with the Twitter Bot runtime into a virtual environment:
sh <(curl -q https://platform.www.activestate.com/dl/cli/install.sh) --activate-default Pizza-Team/Twitter-Bot
1 — Building a Twitter Bot
Twitter is by far the simplest bot to configure. Twitter has invested quite a lot of time and resources to ensure its API is straightforward, well documented, and easy to use. And they provide a way for you to automate the creation of your bot.
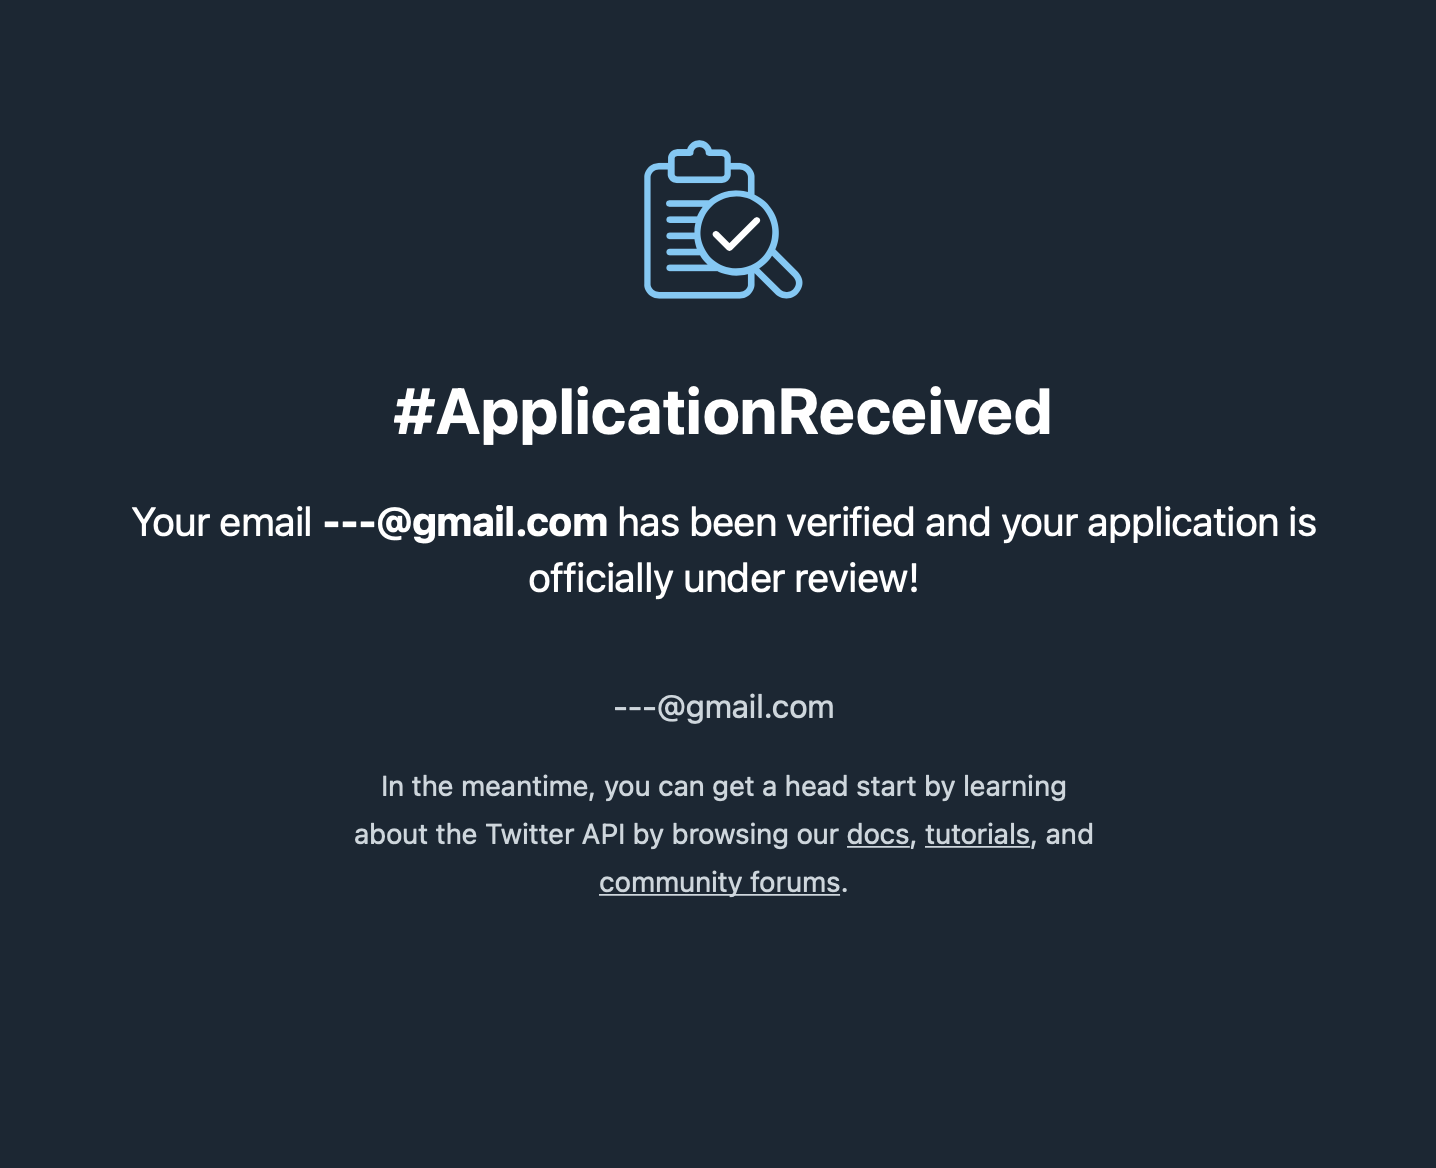
1. First, you need to apply for API access by completing a questionnaire to determine your intended use. After that, it doesn’t take long for them to approve your access.
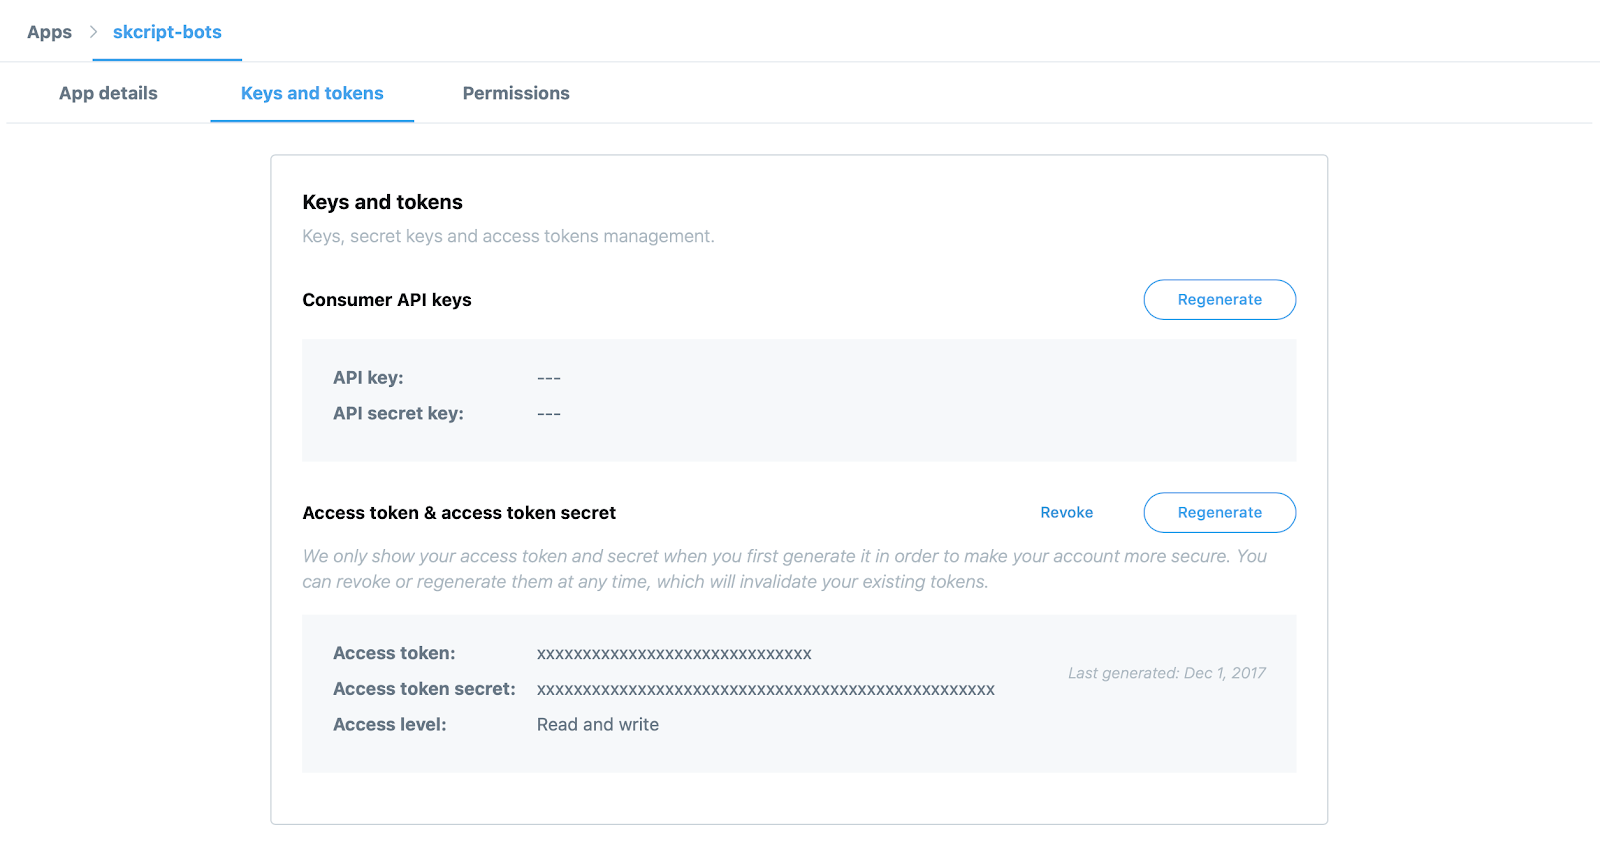
2. Next, Twitter provides you with a GUI you can use to create a Twitter application. You will be asked what the purpose is and to provide a valid domain name. Once you’ve done that, navigate to the “Keys and tokens” section and copy the following:
a) Consumer Key and Consumer Secret
b) Access Token Key and Access Token Secret
We’ll use Python to create the bot that will automatically post our features from Slack. Here, we’ll take advantage of the python-twitter library, and use the Twitter keys we generated in the previous step in order to configure the bot:
import twitter
api = twitter.Api(
	 consumer_key='Now30...',
 consumer_secret='LblVe...',
 access_token_key='16234...-lz0sb...',
 access_token_secret='6gvs8...'
)
status = api.PostUpdate(‘I am building a Twitter bot using Python’)
This should tweet out “I am building a Twitter bot using Python” on your registered account. Check it out on your profile!
Easy right?
2 — Building a Slack Bot
Now let’s build the other bot we’ll need: a Slack Bot. This bot will listen for any app_mention events. Meaning that if you tag your bot, Slack will send an incoming API call to your HTTP server. This way you can read the message that’s being sent to your bot.
- Log into Slack with your credentials.
- Slack provides a simple GUI-driven way to create your bot. Just follow the prompts to create your own.
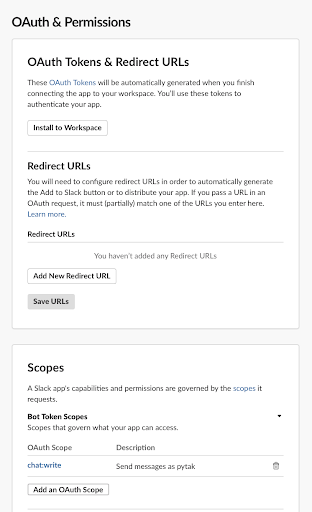
- Once done, navigate to the “OAuth & Permissions” section and copy the “Bot User Access Token.”
- Add the “chat:write” scope to allow you to reply to messages on Slack as the bot.
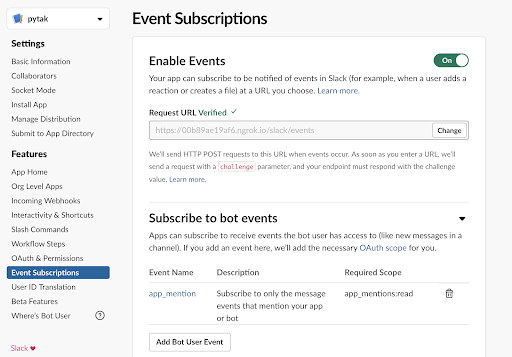
5. To listen to incoming messages, navigate to the “Event Subscriptions” section and add “app_mention” as an event you’d like to subscribe to.
That’s as far as we can go right now, since we’re going to need to provide a server endpoint in the Request URL text box.
3 — Setting Up a Flask Server
A server endpoint is essentially an HTTP server like Flask, Tornado or FastAPI. Slack has helped us out a little here and launched Bolt for Python, a super easy framework for building Slack bots and the associated servers. So lets build a Flask server using Bolt.
1. Navigate to the “Basic Information” page in your Slack App and grab your API keys. You’ll need both the token and the signing secret.
2. Bolt provides a binding for Flask, making it easy to combine the two. Import the binding along with Flask into your workspace:
from slack_bolt.adapter.flask import SlackRequestHandler
from flask import Flask, request
3. Now let’s initialize the Bolt/Flask app:
flask_app = Flask(__name__)
app = App(
	 token="xoxb-...",
 signing_secret="3817..."
)
handler = SlackRequestHandler(app)
Don’t forget to paste in your API key and secret here.
4. Now let’s test it out and have a listen to app_mentions!
@app.event("app_mention")
def event_test(body, say, logger):
 say("What's up?")
@flask_app.route("/slack/events", methods=["POST"])
def slack_events():
 return handler.handle(request)
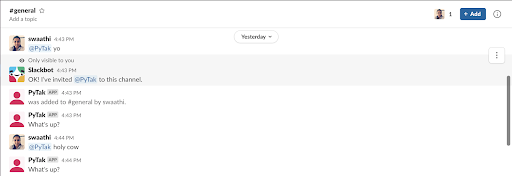
The above code will reply to every mention with “What’s up?”. Great progress, but everything is still local. We need to make sure we can expose our app publicly via the Internet.
5. First, let’s make sure our Flask server is running:
FLASK_APP=app.py FLASK_ENV=development flask run -p 3000
6. To open Flask to the Internet, we will use Ngrok, which allows us to assign a domain to our local server. You can download and get started with Ngrok for free. To start up Ngrok:
ngrok http 3000
7. Go back to your Slack App and navigate to the “Event Subscriptions” page where you can enter the domain name you registered with Ngrok.
8. Let’s test it out! Go back to your Slack App and follow the instruction to install the app to your testing Slack workspace.
Tada! You’re almost there.
4 — Connecting the Slack Bot to your Twitter Bot
Now we’re ready to put everything together!
Modify the “app_mention” section to listen for a specific keyword. In our case, let’s use “Post this – “. Slack will ping us when the app (@PyTak) is mentioned, and we’ll be monitoring for our keyword. Additionally, the following code will feed the mention to Twitter:
@app.event("app_mention")
def event_test(body, say, logger):
 result = body["event"]["text"].split("Post this -")
 if len(result) == 2:
   status = api.PostUpdate(result[1].strip())
   link = "https://twitter.com/"+status.user.screen_name+"/status/"+str(status.id)
   say("Here's your tweet: " + link)
While this is a very rudimentary algorithm, you can use it as your base code and make modifications to suit your needs.
To test it out, we’ll first need to restart our Flask server and then post an entry in Slack, such as:
And you can see my tweet here:
Twitter cleverly also mentions the Twitter bot used to make the post.
Conclusion: Building a Twitter Bot with ActivePython – faster, secure and better suited for teams
In the world of SaaS applications, user engagement is key. Most SaaS organizations measure how well they’re doing based on a Monthly Active User (MAU) metric. To get users to engage with you on a regular basis requires new content and functionality to be constantly added to your SaaS application, but if you’re not also constantly promoting these new features, your MAU will suffer.
This post showed you how you can easily automate the promotion of features that might otherwise be overlooked by your customer base. All it takes is a mention of the feature in a dedicated Slack channel to automatically make your Twitter followers aware.
- You can find all the sample code used in this post in my GitHub repository.
- To get started quicker, install our Twitter Bot runtime environment for Windows or Linux, which contains a version of Python and all of the packages you need.
With the ActiveState Platform, you can create your Python environment in minutes, just like the one we built for this project. Try it out for yourself or learn more about how it helps Python developers be more productive.
Related Reads


