ActiveState Python
Why ActiveState Python?
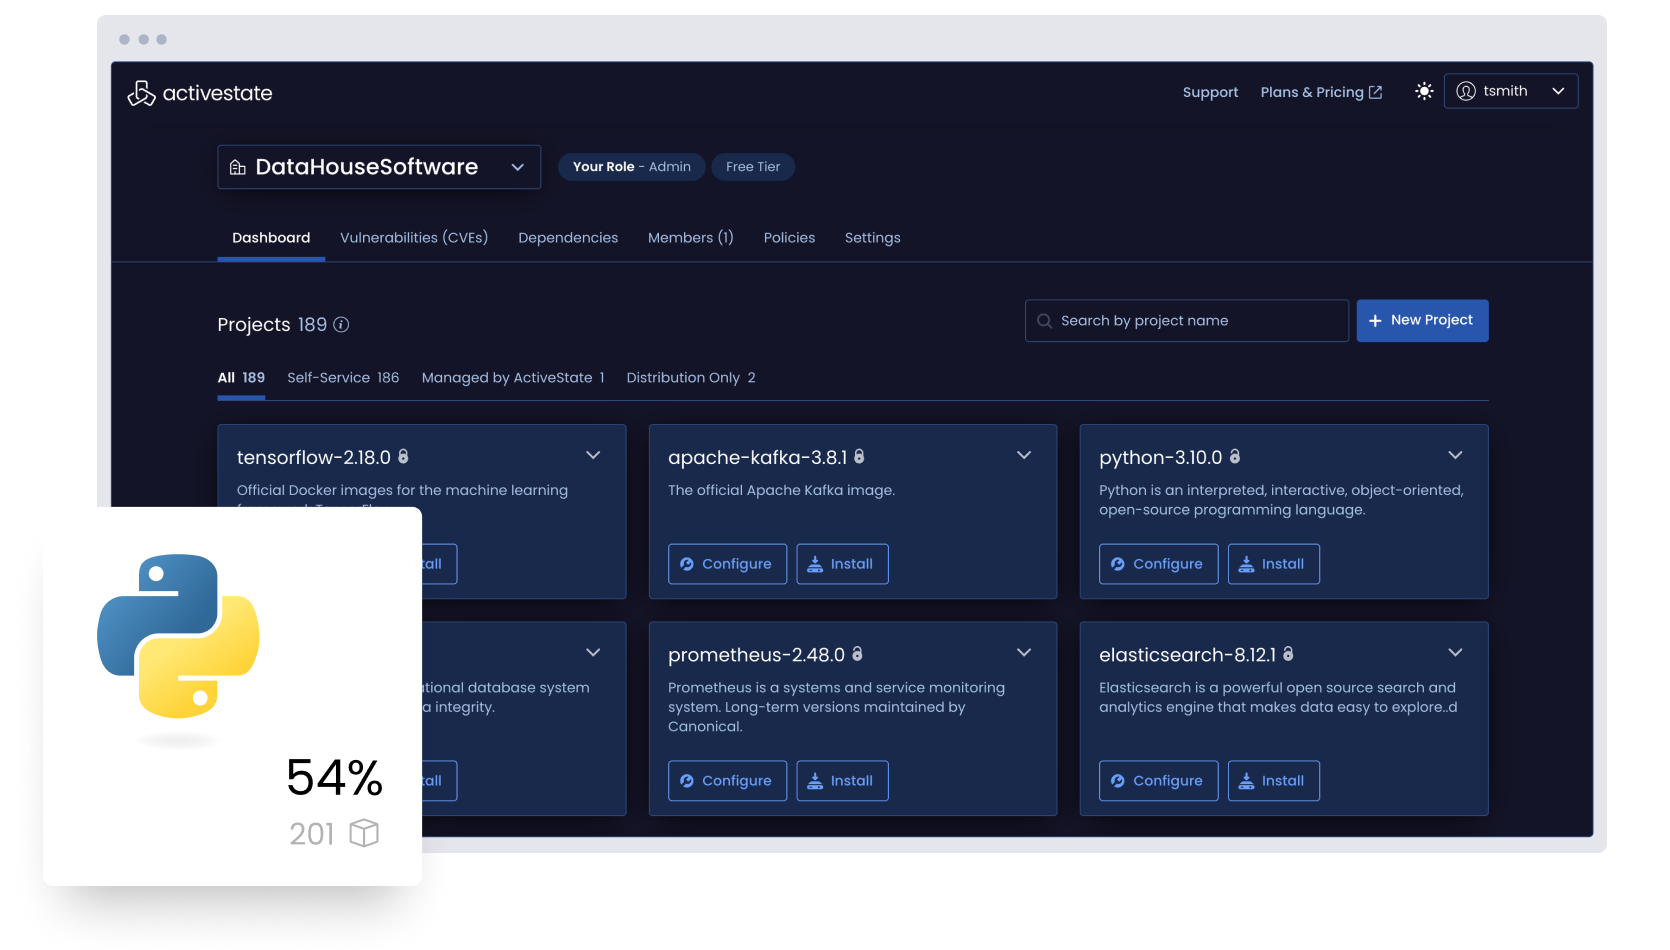
ActiveState Python is 100% compatible with community Python but is automatically built from vetted source code using a secure, SLSA-compliant build service in order to ensure its security and integrity. Secure your Python software supply chain.
All stakeholders from security, compliance, and IT to developers, QA, and DevOps can centrally collaborate in order to facilitate curation, compliance, and consistency via policy for all Python projects across the organization. Eliminate the risks inherent in managing Python on a per project basis.
Manage all the Python in your organization
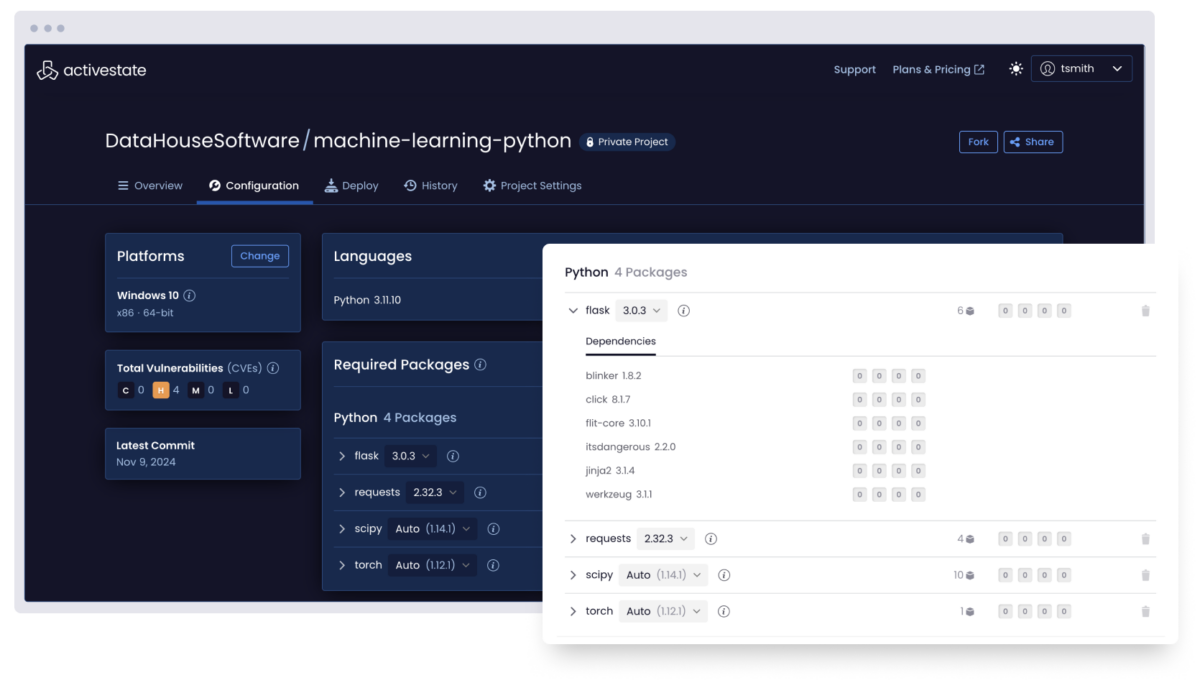
Visualize all the Python deployed across your organization by top-level, transitive, and shared dependencies whether or not you use ActiveState Python.
But for those looking to curate a catalog of securely built Python artifacts, ActiveState Python provides the ability to automatically build and centrally manage/deploy Python runtimes in order to ensure consistency between environments for everyone from dev to test to CI/CD and production.
Analyze all the Python deployed across your organization by license, vulnerability status, and more, whether or not you use ActiveState Python.
Centrally collaborate with security, compliance, and IT personnel in order to implement a governance policy that can be applied to all Python deployments. Flag policy violations, notify stakeholders, approve exceptions, and create an audit trail in order to ensure security and compliance with IT rules, industry guidelines, and government legislation.
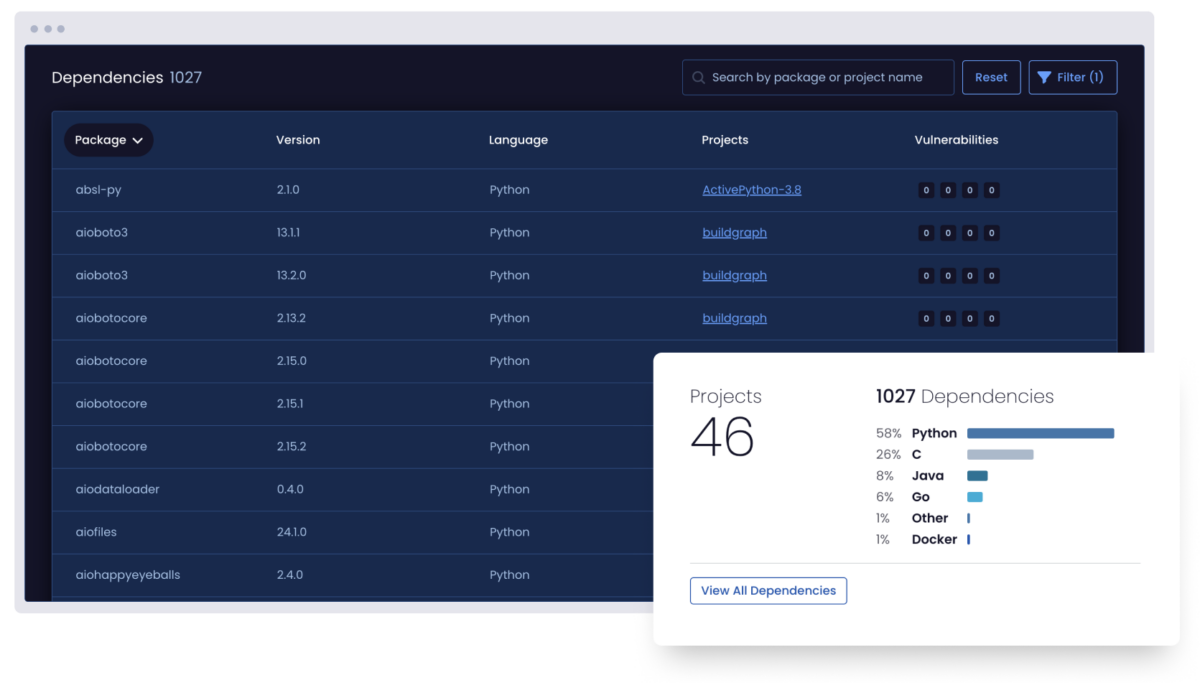
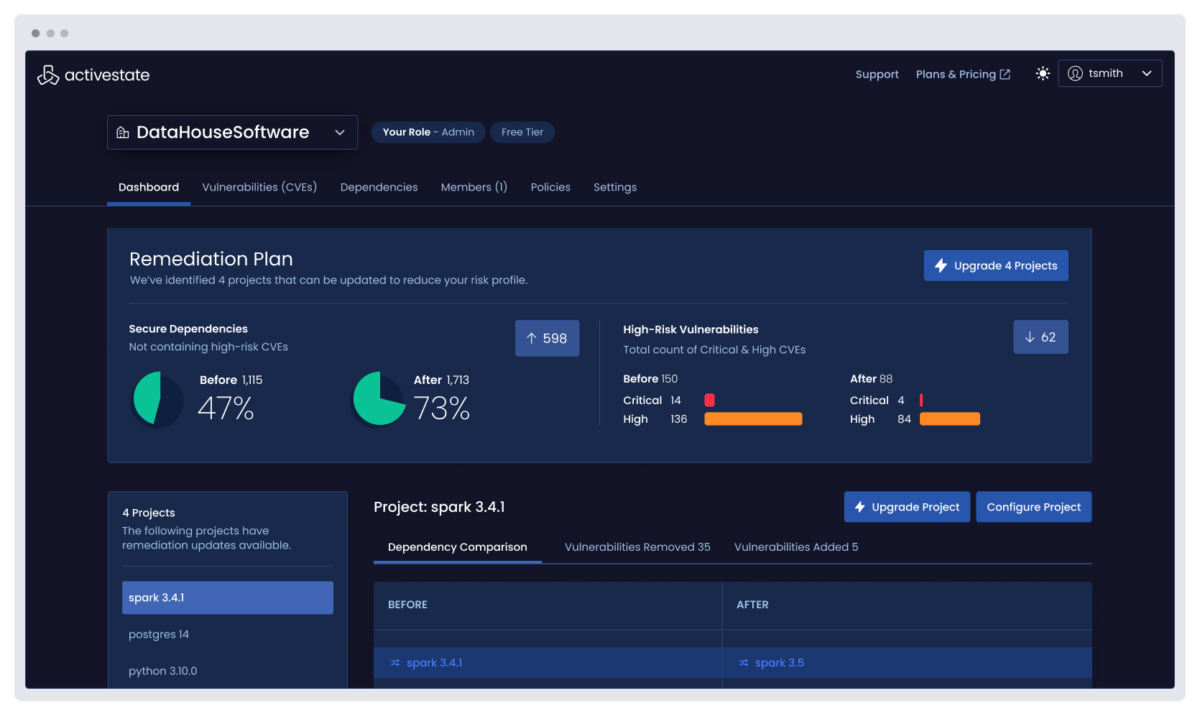
Remediate Python vulnerabilities faster by centrally identifying all the vulnerabilities in every project across your enterprise, eliminating the threat of unidentified vulnerabilities and prioritizing remediation by understanding their impact.
Choosing to work with ActiveState Python means you can also automatically rebuild runtime environments with fixed versions of vulnerable dependencies, reducing Mean Time To Remediation (MTTR).
Support the Python you depend on for your commercial applications, even beyond EOL.
ActiveState provides long-term support for Python deployments, ensuring you can continue to benefit from business-critical applications even after community support is no longer available. Let ActiveState backport security fixes so you can free up your team to focus on innovation.
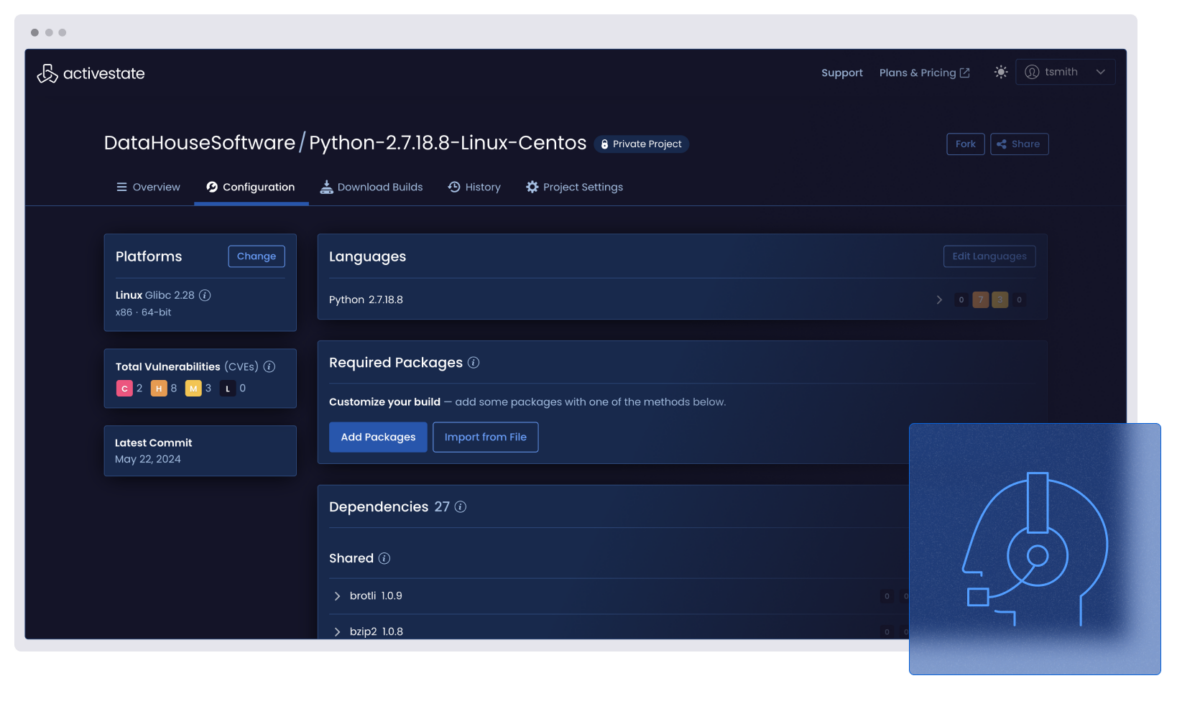
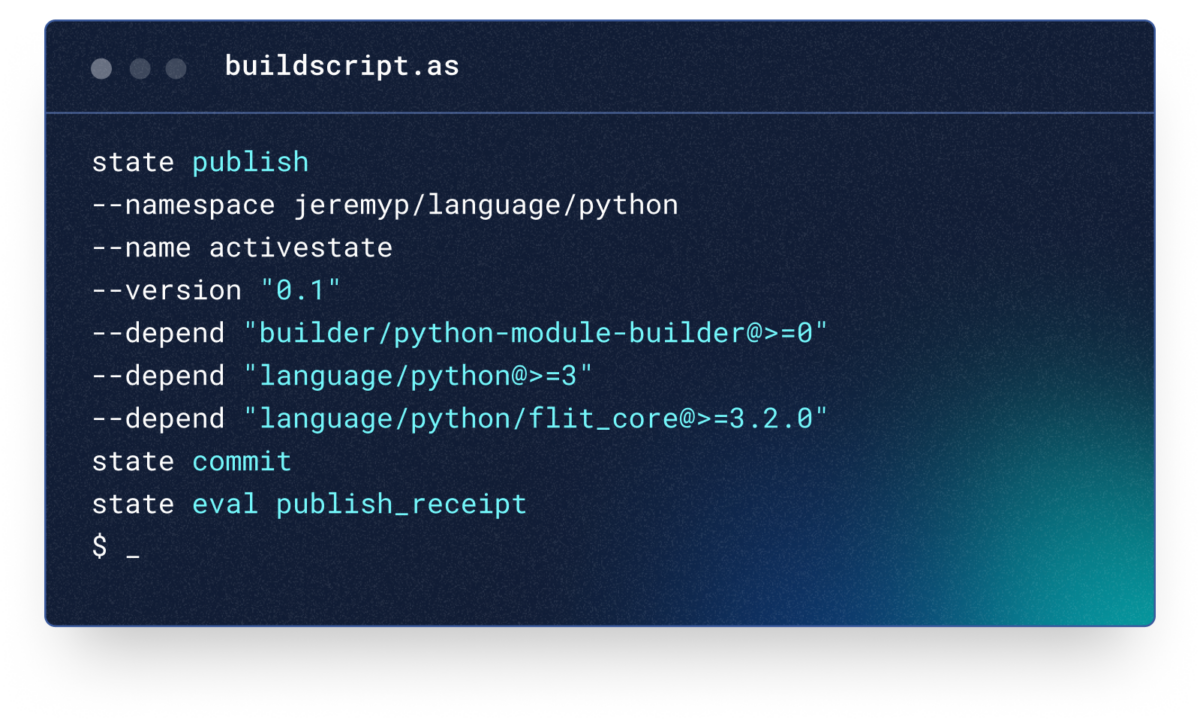
Publish Python packages to the Python Package Index (PyPI) using ActiveState’s zero-config Continuous Integration (CI) build system that automates building and publishing your code, eliminating the need to set up and maintain your own build environments.
As a trusted publisher, ActiveState provides the easiest and most secure way to publish your community projects by ensuring all your dependencies are built securely from source code and automatically creating Python wheels for Mac, Windows, and Linux.
Learn more about the benefits of working with ActiveState Python

Python Package Management Guide for Enterprise Developers
Package management continues to evolve, but traditional Python package managers are slow to catch up. Learn how ActiveState can help.

ActiveState vs Anaconda: Python for Data Scientists
Learn how ActiveState Python can revolutionize your data science workflows and explore the advantages of choosing ActiveState over Anaconda for your Python needs.

How to Avoid the Python EOL Trap
Learn how to minimize the cost of legacy languages in your organization, and plan ahead for future EOL dates without compromising security or innovation.


