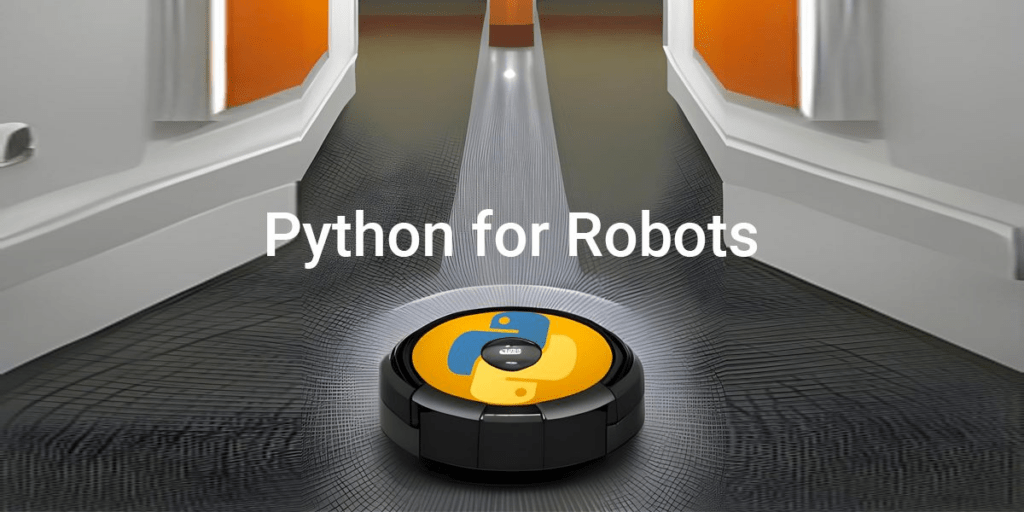
It’s a simple task, but the technological concepts involved in creating a vacuum cleaning robot are quite complex, including:
- Mapping
- Navigation
- Wireless communication
- Obstacle detection and avoidance
For humans, the ability to perceive and accurately interpret our immediate environment, and then act accordingly, is second nature. The field of robotics is trying to recreate these cognitive abilities and corresponding actions, then transfer these skills to robots of all sizes, from mechanical patrol dogs to self-driving cars to pick-and-place robotic arms used in assembly lines.
One of the best ways to facilitate this transfer is using Python, which is widely used in the field of robotics for data collection, processing, and low-level hardware control using systems like ROS (Robotic Operating System) and frameworks like OpenCV and TensorFlow.
This blog post discusses how you can take advantage of Python’s open source assets to manipulate robots via sensors (cameras), actuators (motors), and embedded controllers (Raspberry Pi).
Understanding a Robot’s Environment
Most robotics processes are characterized by three steps:
- Perception – what does the environment look like?
- Planning and Prediction – how can the robot best navigate the environment?
- Control – how can the robot best interact with the objects in the environment?
Step 1 – Robot Perception
Perception is basically the robot’s ability to “see.” Before a robot can make a decision and react accordingly, it has to accurately understand its immediate environment, including distinctly identifying people, signs, and objects, as well as capturing the progress of events in its immediate vicinity. The perception system requires both hardware and software, including:
- Monocular and stereo cameras, radar sensors, sonar sensors, and LiDAR sensors
- Frameworks such as OpenCV and scikit-image
For example:
- Cameras are used to capture either still images (photos) or a continuous stream of images (videos) from the environment.
- Frames are converted into a multidimensional array using a library like NumPy.
- Arrays are analyzed by OpenCV or scikit-image algorithms in order to recognize objects and analyze the scene in front of the robot in real time.
- Deep learning enables the accurate classification of the objects detected by the camera’s input.
- Optionally, cameras can also be used to measure how far objects are from the robot, although roboticists may choose to use dedicated sensors for these kinds of secondary tasks.
The following code shows how to:
- Import the Python libraries required for image processing.
- Because the model that we’ll use only accepts images of a specific size and color palette, we’ll load each image using OpenCV’s imread module and resize their dimensions to 1028 x 1028, and then convert each input image’s palette from RGB to BGR.
- For processing, we’ll represent the image in numerical format (similar to an array conversion).
import tensorflow_hub as hub
import cv2
import numpy
import pandas
import tensorflow as tf
import matplotlib.pyplot as plt
widget = 1028
height = 1028
# Load the image by OpenCV
image = cv2.imread('IMAGE_PATH')
# Resize the image to match the input size of the model
inp = cv2.resize(image, (widget, height))
# Convert the image to RGB from BGR
rgb = cv2.cvtColor(inp, cv2.COLOR_BGR2RGB)
# Converting to unit8
rgb_tensor = tf.convert_to_tensor(rgb, dtype=tf.uint8)
# Add the batch dimension
rgb_tensor = tf.expand_dims(rgb_tensor, 0)
Proximity Sensors
Due to their robustness, wide availability, and ultra-low cost, ultrasonic sensors (USSs) are the most commonly used proximity sensors amongst roboticists. An ultrasonic sensor is a sonar-enabled device that works by emitting sound waves and calculating distance based on the time it takes for the sound wave to hit an object and travel back to the sensor.
USS sound waves are converted into electrical signals and then transformed into digital signals allowing them to be processed with Python’s GPIO library. The following code shows how to import the necessary modules and initialize the connection with the sensor:
import time
import board
import adafruit_hcsr04
sonar = adafruit_hcsr04.HCSR04(trigger_pin=board.D5, echo_pin=board.D6)
You can read the values from the sensor using the following property:
while True:
    try:
        print((sonar.distance,))
    except RuntimeError:
        print("Retrying!")
    time.sleep(0.1)
In this way, you can get a robotic device up and running with a handful of Python libraries, and a few lines of code.
Step 2 – Robot Planning and Prediction
Planning and prediction is the most important, delicate, lengthy, and iterative part of robotics development. This stage serves as the interface between the collected data and the corresponding action that the robot is to take.
After the data has been collected from the sensors and the useful part has been extracted, it’s ready for processing by Machine Learning (ML) and Deep Learning (DL) techniques. Planning algorithms (such as A* and RRT) are used to determine the path or motion of a robot, whether it’s a robotic arm or a vacuum cleaner. However, the paths or motions designed by the programmer are limited to specific setups.
To counter this issue and expand the scope of the robot’s use in any environment, programmers use ML prediction algorithms that enable the robot to automatically discover the rules of how the world works by running data through algorithms. For example, images collected from a camera might be processed with OpenCV and then fed into a training algorithm created with an ML framework like TensorFlow to help the robot more accurately identify objects in any environment, as well as distinguish between them.
The Raspberry Pi is a good example of hardware that’s commonly used at this stage, as it’s powerful enough to run machine learning models for image processing. Keep in mind that this stage is an interface between control and perception, so the planning doesn’t end here.
Step 3 – Robot Control
The control phase is essentially about manipulation. Robotic manipulation refers to the ways in which robots interact with the objects around them. For example, in the case of a pick-and-place robotic arm, that means grasping an object and placing it in a box. In robotics, manipulators are electronically controlled mechanisms that perform tasks by interacting with their environment.
At this stage, prediction is once again used to dictate the path to be followed and the specific motions to be taken. Motion planning is a term used in robotics for the process of breaking down a desired movement task into discrete motions that satisfy movement constraints. It can also include the optimization of some aspect of the movement.
Since movement constraints and any possible optimizations will be different depending on the environment, they are difficult to program effectively. Hence the need for ML models that are able to adapt to changes while still optimizing movement. However, when it comes to simple, repetitive tasks that are performed for a fixed duration in a fixed environment, a programmer may simply hard code the manipulation instructions.
How to Enable a Robot with Python
Now that we’ve explained some of the basic concepts, let’s take a look at how Python can be used to help actualize a robot. Our example will include:
- A vision-based mobile navigation robot (a vacuum-cleaning robot)
- Components: 1 stereo camera, 2 ultrasonic sensors, 4 motors, a mecanum wheel assembly, and a Raspberry Pi
- Python Frameworks: OpenCV and TensorFlow Neural Network
- Use Case: obstacle avoidance
You can use the prebuilt Python Robot Programming runtime environment for Windows or Linux along with the Python scripts above to control the robot, which can be assembled in a number of different ways. The description below is but one of them.
Robot Assembly
The wheels should be arranged as on a normal vehicle, with the ultrasonic sensors mounted at both the front and the rear of the robot’s chassis. The camera should be mounted at an elevated position at the front of the chassis and directly connected to the Nano. The motors must first be interfaced with a motor driver.
Robot Programming
Prepare the Raspberry Pi by installing the Robot Programming runtime environment. Your main Python script should import the camera, motor, and sonar modules. We’ll utilize a model that’s already been trained using Python-OpenCV to detect various images. When it detects an object, our proximity sensor (the ultrasonic sensor) will be used to measure the distance between the object and the robot. When the robot’s distance from the object is below a defined safety threshold, we will stop the robot.
Robot Operation
Using the camera, we can get the detected object’s width, make the necessary conversions, and calculate the distance that the robot needs to move to the right or left based on the image feed. If the object is totally out of the camera’s line of sight, we’ll need to move our robot forward.
Conclusions
In this blog we’ve assembled and controlled a very simple robot, but the field of robotics is moving extremely fast aided by advances in Machine Learning, which is, in turn, being driven by Python. The evidence can be seen in how ubiquitous robotic vacuums like Roomba have become, but also the robotic arms used to pick-and-pack your Amazon order.
Unfortunately, the ease of use of Python still contrasts sharply with the complexity of robotic control, which requires data collection, preparation, training, multiple sensors and hardware controls, and real time environment recognition/reaction.
The impact that robotics will have on our personal and professional lives going forward is undeniable. In some cases, it will make our lives much easier by handling boring or dangerous tasks, but it will also put a lot of us out of a job. One of the best ways to avoid redundancy is to learn robotics programming in order to future proof your career.
Next steps:
Download the Robot Programming runtime environment which contains a version of Python and all the packages you need to get started with robot programming.
Read Similar Stories
Automate many of the most time and resource consuming machine learning tasks with these 10 best AutoML Python tools for ML engineers.
Understand the top 10 Python packages for machine learning in detail and download ‘Top 10 ML Packages runtime environment’, pre-built and ready to use.
Learn how to assign labels to unlabeled datasets and augment each piece of data with informative labels or tags.


