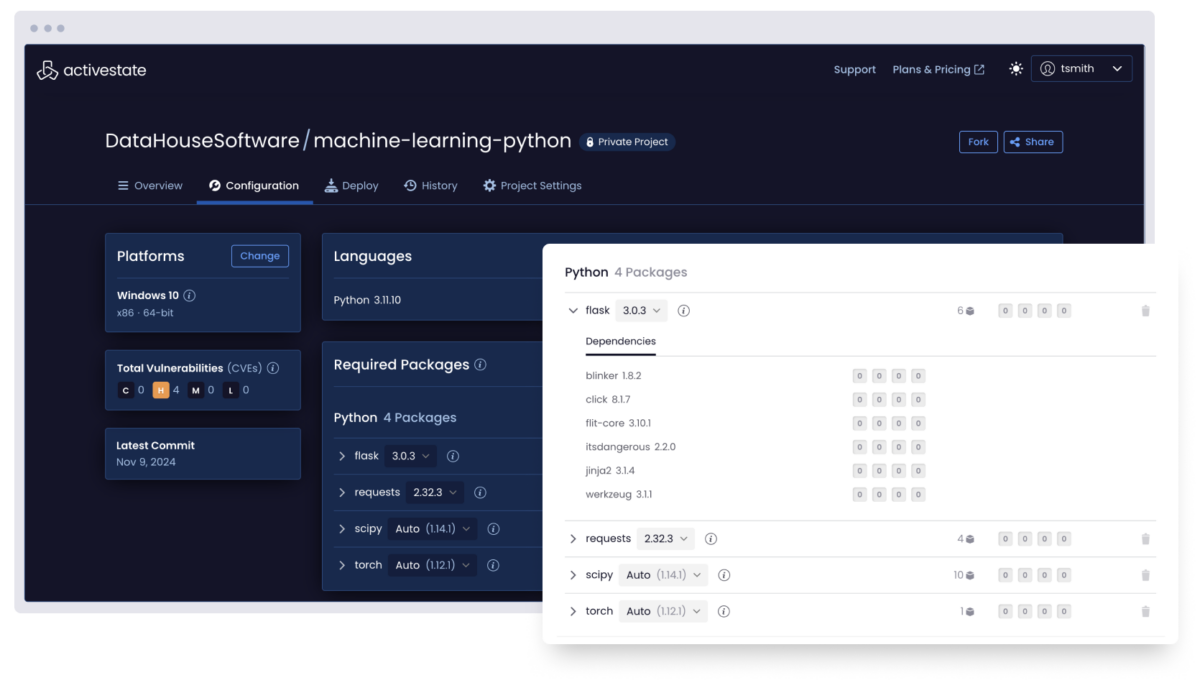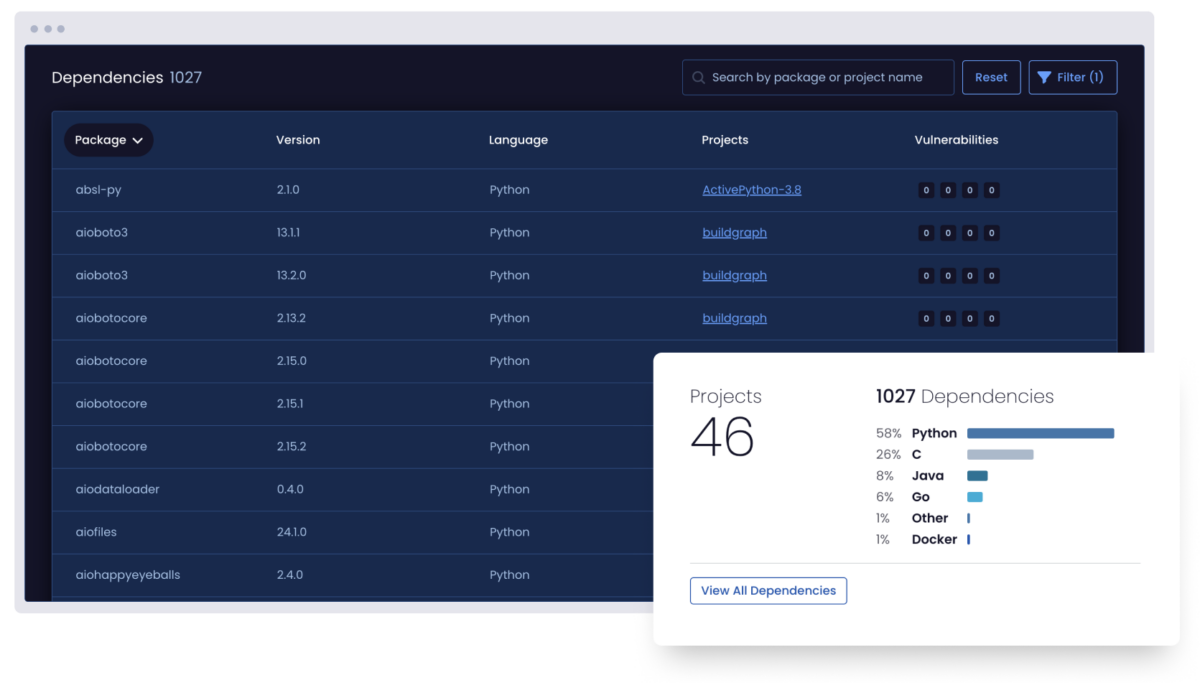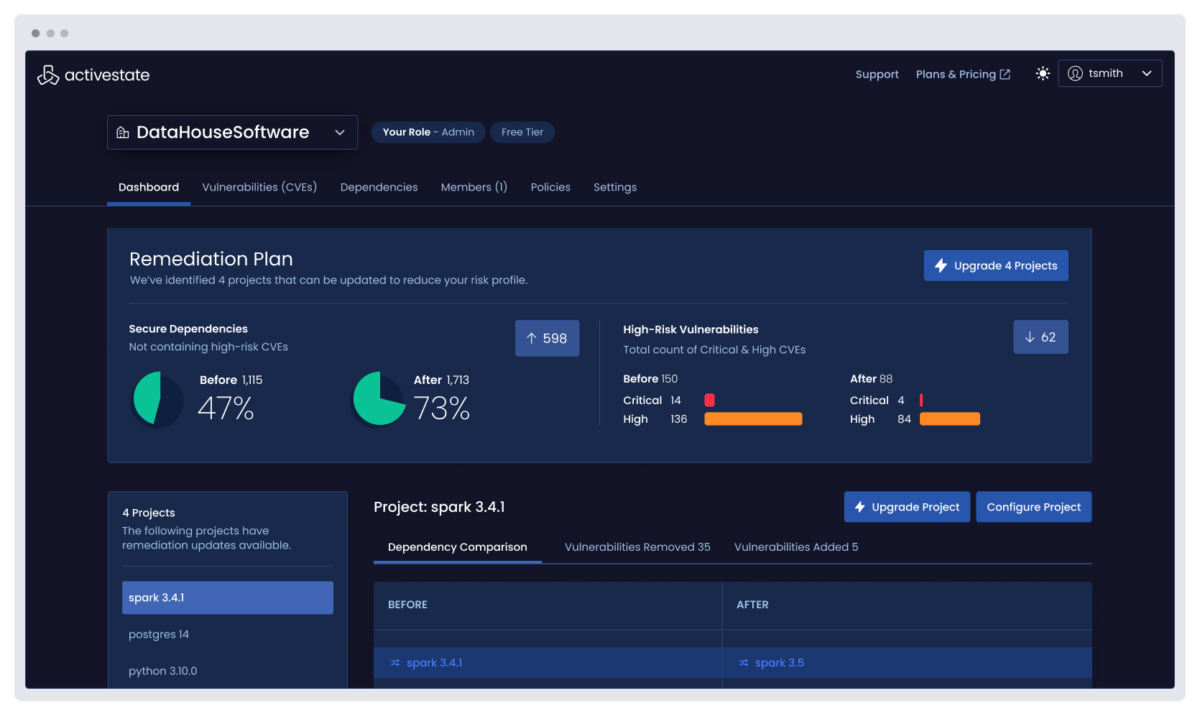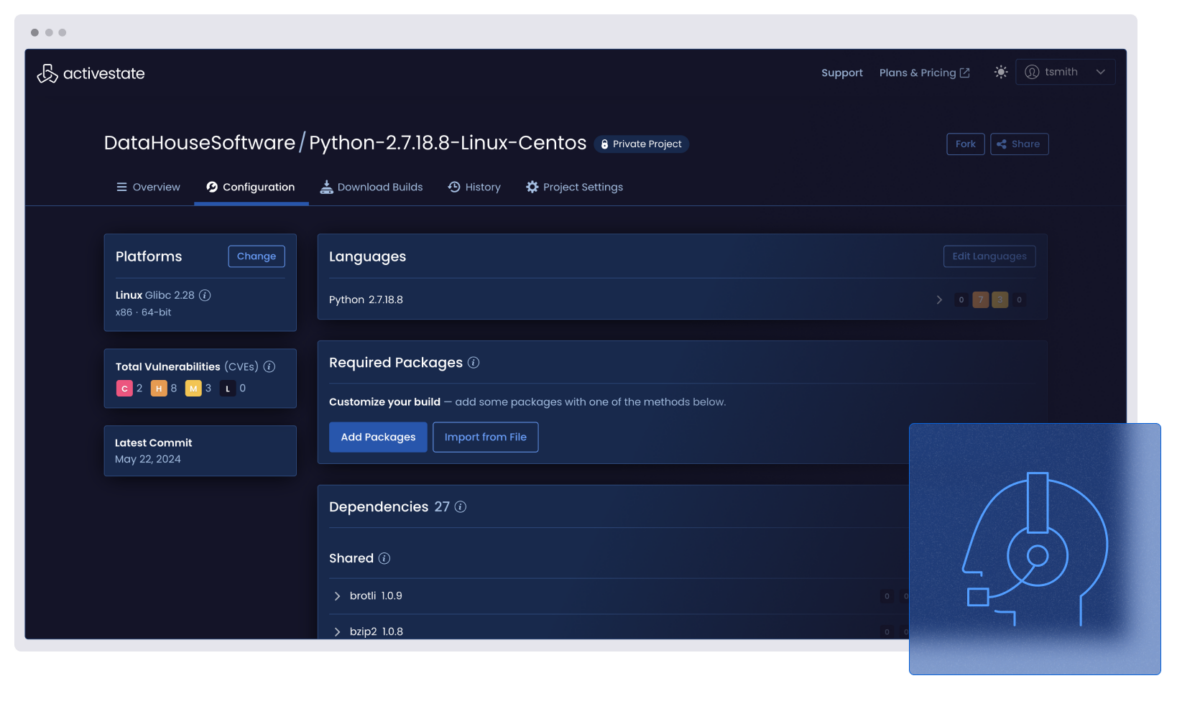
Take control of open source security—discover ActiveState’s new management platform!

PIP Install Environment

Pip is the standard package manager for Python. It enables the installation and management of third party packages that provide features and functionality not contained in the Python standard library. Newer versions of Python (Python 2 >= v2.7.9 or Python 3 >= v3.4) come prepackaged with pip by default. Pip is also included in the virtual environments created by virtualenv and pyvenv.

But if your default Python is an older version of Python, pip will need to be manually installed. This tutorial steps through how to:

  • Install pip on your Windows or macOS operating system
  • Use pip to manage your environment

Prerequisites for Pip Installation

Check to see which version of Python you have installed by running the following command:

python --version

Depending on your Python installation, you should see something like the following:

Python 3.8.0

If you do not have a version of Python installed, you can quickly download and install a recent version of ActiveState.

Check to see if pip is already installed by running the following on the command line:

pip --version

You should see something similar to the following output:

Pip 19.2.3 from c:usersjdoeappdatalocalprogramspythonpython38-32libsite-packagespip (python 3.8)

Install Pip on Windows or Mac

To manually install pip on Windows or Mac (including Mac OS X), you will need a copy of get-pip.py.  For older Python versions, you may need to use the appropriate version of the file from pypa.org. You can get a copy of the installer by downloading the file to a folder on your computer, or else just use the following curl command:

curl https://bootstrap.pypa.io/get-pip.py -o get-pip.py

Next, run the following command to install pip:

python get-pip.py

If the file is not found, you may need to first navigate to the directory containing the  get-pip.py file. For a Windows installation, you should see something similar to the following:

Installing collected packages: pip, setuptools, wheel

The script wheel.exe is installed in ‘C:Python33Scripts’ which is not on PATH.

Consider adding this directory to PATH or, if you prefer to suppress this warning, use

--no-warn-script-location.

Successfully installed packages pip-10.0.1 setuptools-39.2.0 wheel-0.29.0

This command will also install setuptools and wheel if they are not already installed.

Add Pip to Windows Environment Variables

One of the most common problems with running Python tools like pip is the “not on PATH” error. This means that Python cannot find the tool you’re trying to run in your current directory. There are two solutions:

  • Navigate to the directory in which pip is installed every time before you run pip, or else prefix the command with the path.
  • Add the directory in which pip is installed as a PATH environment variable so you can run it from any location.

You can update the PATH environment variable on Windows by doing the following:

  1. Open up the Control Panel and navigate to System and Security > System
  2. Click on the Advanced system settings link on the left panel
  3. Click Environment Variables.
  4. Under System Variables, double-click the variable PATH.
  5. Click New, and add the directory where pip is installed, e.g. C:Python\Scripts, and select OK.

pip install environment

Add Pip to the Mac Environment Variables

One of the most common problems with running Python tools like pip is the “not on PATH” error. This means that Python cannot find the tool you’re trying to run in your current directory.

The best solution is to edit your .bash_profile by doing the following:

vi .bash_profile

And then add in the following commands:

# Setting PATH for Python

export PATH={your path}:$PATH

Where “your path” might be something like:

/usr/local/bin/python3

Save the file and check whether the PATH has been updated by running:

echo $PATH

Upgrade Pip

In order to keep your version of pip up to date, you can run the following on the command line:

python -m pip install -U pip

This command will uninstall the outdated version of pip first, and then download the latest version.

Using Pip to Manage Environments

Pip is the default package manager for Python that most developers use to manage their Python global and virtual environments by installing, updating and uninstalling packages and their dependencies. By default, pip installs packages located in the Python Package Index (PyPI), but can also install from other indexes.

Unfortunately, pip does not resolve dependencies, which means it’s possible to corrupt your environment,  especially when performing updates of packages in the site-packages directory. Instead, consider installing Python from ActiveState for Windows and Linux and then importing your requirements file. The ActiveState Platform will automatically resolve all packages and their dependencies to ensure against conflicts. 

Pip Package Installation

Python packages installed with pip are typically bundled into ‘wheels’ prior to installation. A wheel is a zip-style archive that contains all the files necessary for a typical package installation. Wheels have a .whl extension, and provide a simpler installation than ‘non-wheel’ packages.

To install a package:

pip install <packagename>

To install a specific version of a package:

pip install <packagename>==v.v

For example,

pip install django==3.1.13

To install a package from a repository other than PyPI,  for instance, Github:

pip install -e git+<https://github.com/myrepo.git#egg=packagename>

To upgrade a package that is already installed:

pip install --upgrade <packagename>

To uninstall a package:

pip uninstall <packagename>

To show help for pip, including complete command usage and options:

pip -h

pip --help

Pipenv Package Installation

Pipenv is a tool for managing dependencies. It uses pip and virtualenv under the hood (you may need to install virtualenv if it isn’t already installed), and simplifies their usage with a single command line syntax. Like venv, pipenv automatically creates a new virtual environment for each project.

To install, upgrade or uninstall packages within pipenv, just replace the pip command with pipenv. For example, the following command installs a named package from PyPI:

pipenv install <packagename>

You can also install packages into your Python virtual environment from locations other than PyPI. For example, the following command installs the requests package from a Github repository:

pipenv install -e git+https://github.com/requests/requests.git#egg=requests

Install Python Packages the secure, modern way

The ActiveState Platform is a package management solution for Python, Perl and Tcl that automatically creates a virtual environment on all main operating systems, including Windows, Linux or macOS whenever you install a new Python project.

The ActiveState Platform provides a command line interface, the State Tool, which automatically:

  • Creates a project folder for your virtual environment
  • Builds Python from source code, downloads and installs it in the virtual environment
  • Builds all packages/dependencies from source code, downloads and installs them into the virtual environment

In this way, you don’t need to have Python or venv or virtualenv or pipenv installed before you can create a virtual environment. Anytime you need to start a new Python project or create a new Python installation, you can simply run a single command to:

  • Download and install Python and the Python interpreter
  • Download and install key dependencies like setup.py and setuptools

You can watch a video to see how to install Python 3.9 into a virtual environment, or you can simply try it out for yourself:

For Windows, run the following command at a CMD prompt:

powershell -Command "& $([scriptblock]::Create((New-Object Net.WebClient).DownloadString('https://platform.www.activestate.com/dl/cli/install.ps1'))) -activate-default ActiveState-Labs/Python-3.9Beta"

For Linux run the following command:

sh <(curl -q https://platform.www.activestate.com/dl/cli/install.sh) --activate-default ActiveState-Labs/Python-3.9Beta

You can then install any Python packages your project requires by running:

state install <packagename>

Or

state install requirements.txt

For more information on how to use the State Tool, refer to the User Guide.

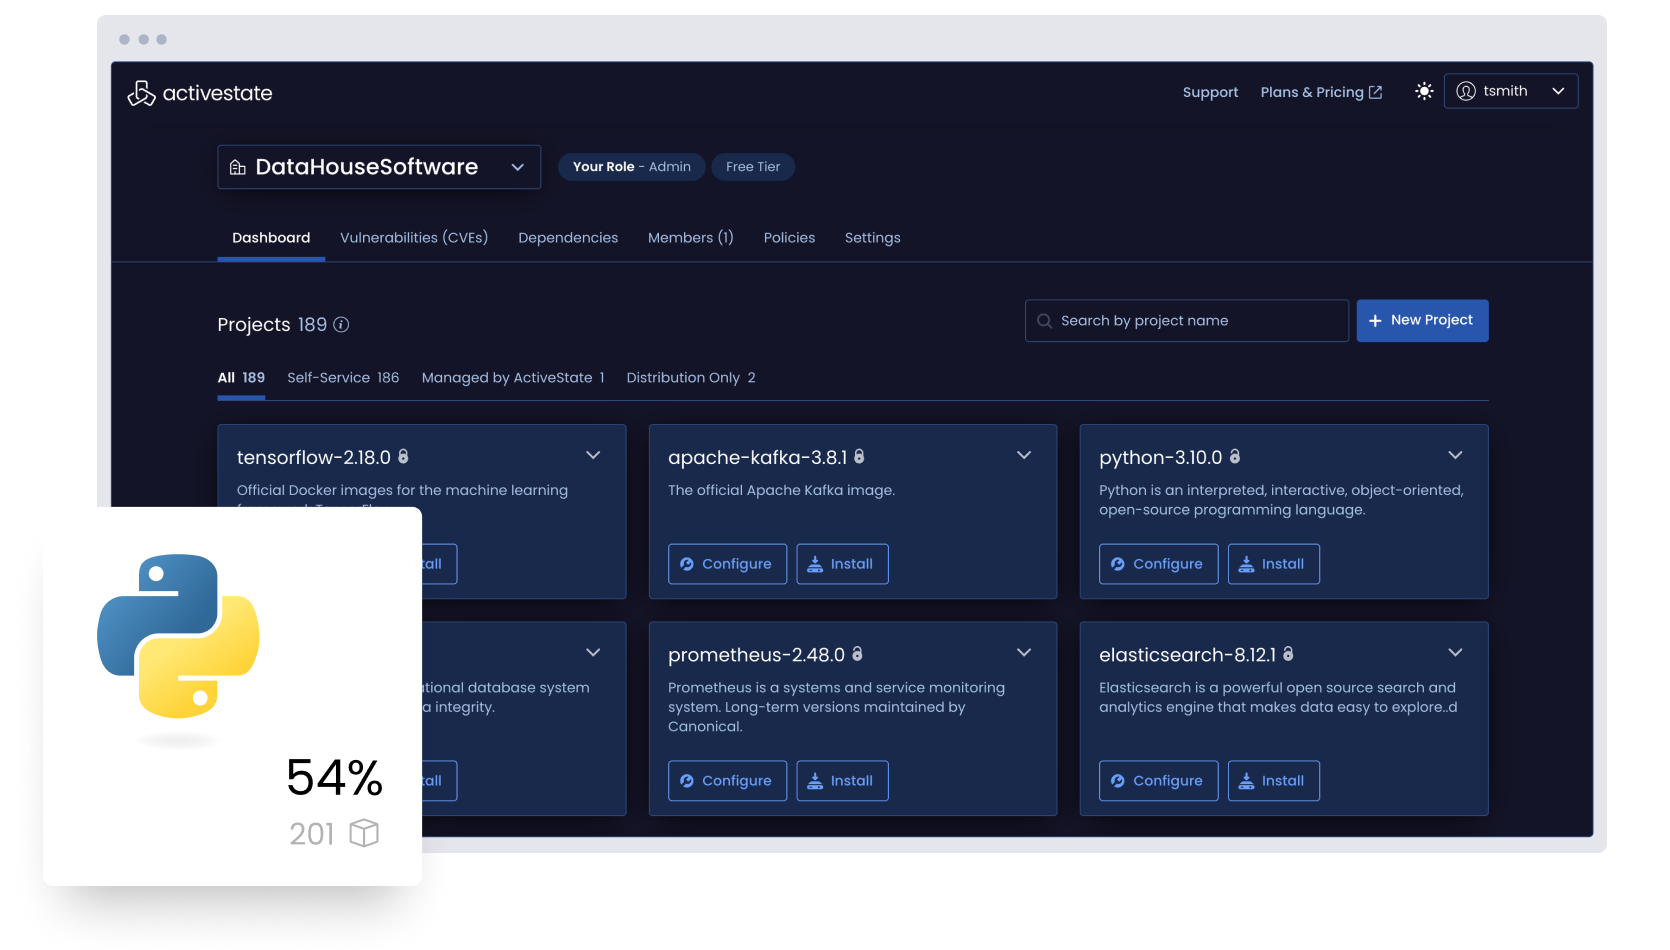
Python 3.9 Web GUI Screenshot

Ready to see for yourself? You can try the ActiveState Platform by signing up for a free account using your email or GitHub credentials. Or sign up for a free demo and let us show you how you can automatically build your Python environment in minutes.

Scroll to Top