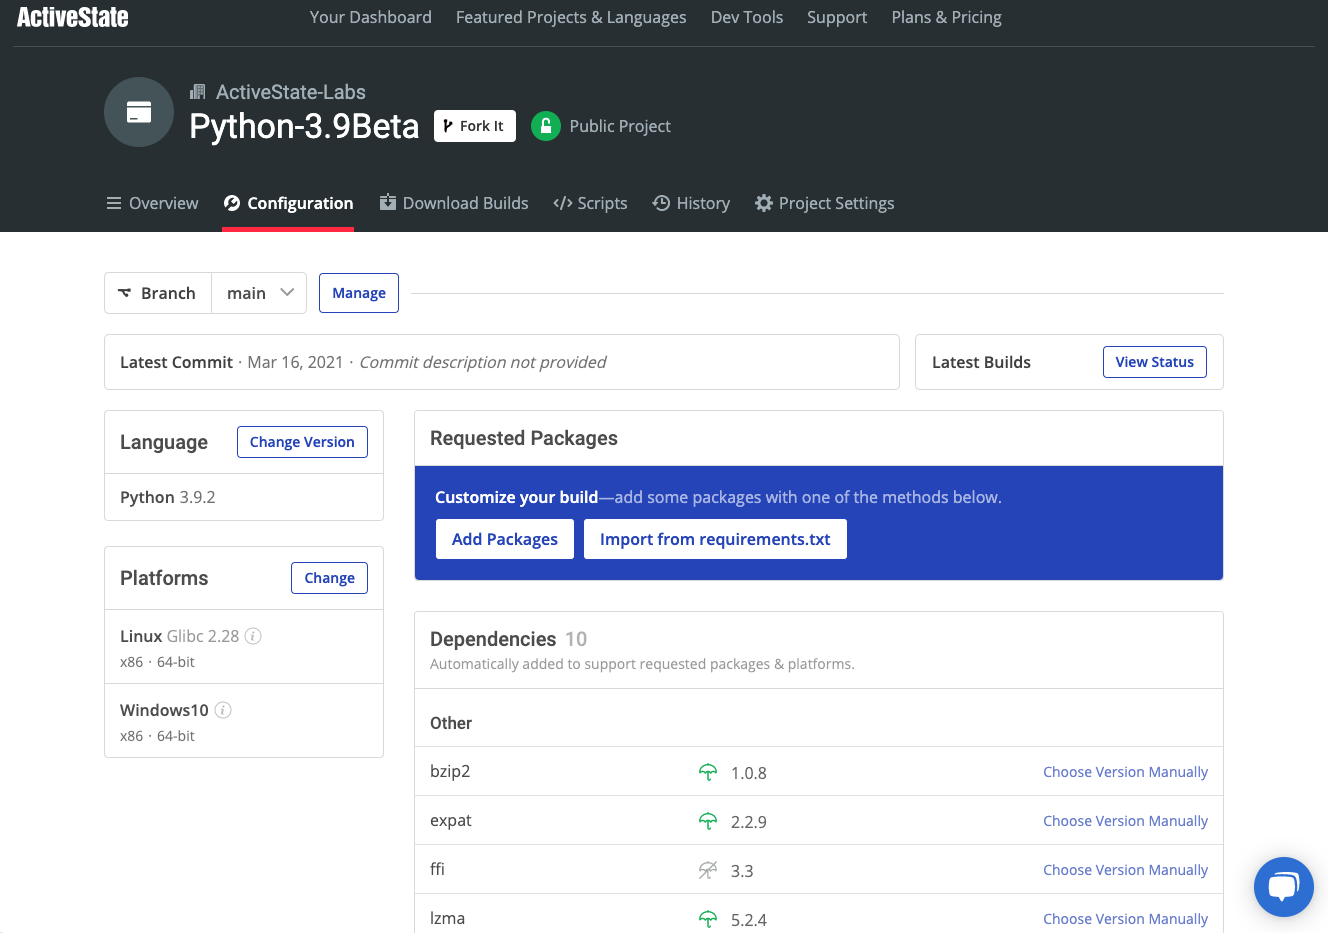
The ActiveState Platform’s command line interface, the State Tool will automatically resolve dependencies for you to ensure your Python environment won’t be corrupted by installing incompatible dependencies. Get started for free by creating an account on the ActiveState Platform or logging in with your GitHub account.
Install Pip3
pip3 is the official package manager and pip command for Python 3. It enables the installation and management of third party software packages with features and functionality not found in the Python standard library. Pip3 installs packages from PyPI (Python Package Index).
Installation Prerequisites
Check if pip3 is already installed by entering the following command in a terminal or command line:
pip3 -v
Output should be similar to:
Usage:
C:\Python38\python.exe -m pip <command> [options]
Commands:
  install      Install packages.
  download                    Download packages.
  uninstall                   Uninstall packages.
  freeze                      Output installed packages in requirements format.
  list                        List installed packages.
  show                        Show information about installed packages.
  ...
  ...
You can also check to see which version of pip3 is installed by entering:
pip3 --version
Output should be similar to:
pip 20.0.2 from C:\Python38\lib\site-packages\pip (python 3.8)
Confirm which version of Python (if any) is installed on your computer by entering:
python --version
Output should be similar to:
Python 3.8.2
Pip3 Installation
Python 3.4+ in most operating systems includes pip3 by default. If your python version is less than 3.4, then you should upgrade your Python version which will automatically install pip3.
For example, you can install the latest version of Python from ActiveState (Python 3.9), which includes pip3.
Pip3 Upgrade
In operating system environments that already have Python 3 and pip3 installations, you can upgrade pip3, by entering:
python -m pip3 install --upgrade pip
Pip3 Downgrade
You can downgrade to a previous version of pip3, in case a newer version is causing unexpected compatibility errors. For example, to downgrade to pip3 v19.0 run the following command:
python -m pip3 install pip==19.0
Pip3 Virtualenv and Venv
When pip3 is used in a virtual environment, it will generally install packages in a path similar to:
<virtualenv_name>/lib/<python_verion>/site-packages
Pip3 Usage
To install a Python package, enter:
Pip3 install <package_name>
Caution:
Linux and MacOS have system Python, that you should leave alone if possible. System Python is configured to help the operating system work as intended.
Install pip3 Ubuntu and Debian Linux
Ubuntu 18.04 has both Python 2 and Python 3 installed by default, and hence has two pip variants for each Python version. ‘pip’, refers to Python 2. pip3 refers to Python 3.
Ubuntu 20.4 has only Python 3, but still requires a separate python-pip 3 installation.
Procedure for installing pip3 on Ubuntu and Debian Linux:
Enter the following command to update Linux:
sudo apt update
Enter the following command to install pip3:
sudo apt install python3-pip
The above command will also install all pip3 dependencies.
To find the location where pip3 installs packages in Ubuntu Linux, enter:
which pip3
Output should be similar to:
/usr/bin/pip3
Install pip3 Windows
To install or upgrade pip3 in a Windows environment that already has Python 3 installed:
Download the latest version of get-pip.py from
<https://bootstrap.pypa.io/>
You can also use the curl command to download get-pip.py:
curl https://bootstrap.pypa.io/get-pip.py -o get-pip.py
CD into the directory where get-pip.py was downloaded to, and enter the following command to install pip3 and its dependencies:
python3 get-pip.py
You can verify that pip3 is installed by navigating to the default pip3 installation directory, eg. C:\python38\scripts\, and enter:
pip3 --version
Add Pip3 to Windows Environment Variables
A common problem with running Python tools such as pip3 in Windows, is not having it in the environment path so that you can access it from anywhere. In most cases, you can navigate to the default <python_dir>/scripts directory in which the tool is installed in order to run it.
To run pip3 from any location, you need to add the directory in which it is installed in, as a System PATH environment variable:
- Open the Control Panel and navigate to System.
- Click on Advanced system settings in the upper left panel.
- Click on Environment Variables.
- Under System Variables, scroll down then double-click the PATH variable.
- Click New, and add the directory where pip3 is installed,
e.g.C:\Python38\Scripts , and select OK.
Figure 1: Environment Variables: Directory where pip3 is installed:
Install Pip3 MacOS
To install pip3 in a MacOS environment that already has Python 3 installed, enter:
sudo apt install python3-pip
To install pip3 using the Homebrew package manager (if it is installed), enter:
brew install pip3
You can also install pip3 using get-pip.py:
- Download the latest version of get-pip.py from https://bootstrap.pypa.io/.
- CD into the download directory, and enter the following command:
sudo python3 get-pip.py
get-pip.py will install pip3 for the python version which runs the script.
Pip3 and Conda
Pip3 has limited use in the Conda environment compared to other operating system environments.
Conda has many of the features found in pip3, but is otherwise a completely separate tool. It installs python modules and packages from the Anaconda Repository. Only after Conda has been used to install as many packages as possible in a project, should pip3 be used to install any remaining software.
It depends on whether you are familiar with pip3 and Conda, and with how package installations interact between the two methods. If you are relatively new to Conda and Python, then only use Conda to install packages in Conda environments. Otherwise pip3 can be used to install packages not found in the Anaconda Repository. Extra care needs to be taken with pip3 dependencies so that they do not conflict with Conda packages and dependencies.
If Python 3 and pip3 are installed outside of the Conda environment, then you can run pip3 from an Anaconda prompt just as you would from a Linux or Windows terminal or command line.
A modern solution to Python package management – Try ActiveState’s Platform
The ActiveState Platform is a cloud-based build tool for Python. It provides build automation and vulnerability remediation for:
- Python language cores, including Python 2.7 and Python 3.5+
- Python packages and their dependencies, including:
- Transitive dependencies (ie., dependencies of dependencies)
- Linked C and Fortran libraries, so you can build data science packages
- Operating system-level dependencies for Windows, Linux, and macOS
- Shared dependencies (ie., OpenSSL)
- Find, fix and automatically rebuild a secure version of Python packages like Django and environments in minutes
Python Package Management In Action
Get a hands-on appreciation for how the ActiveState Platform can help you manage your dependencies for Python environments. Just run the following command to install Python 3.9 and our package manager, the State Tool:
Windows
powershell -Command "& $([scriptblock]::Create((New-Object Net.WebClient).DownloadString('https://platform.www.activestate.com/dl/cli/install.ps1'))) -activate-default ActiveState-Labs/Python-3.9Beta"Linux
sh <(curl -q https://platform.www.activestate.com/dl/cli/install.sh) --activate-default ActiveState-Labs/Python-3.9Beta
Now you can run state install <packagename>. Learn more about how to use the State Tool to manage your Python environment.
Let us know your experience in the ActiveState Community forum.


