Pythonnet (or Python.NET) is a Python package for integrating the Python.runtime and API with the Microsoft .NET Common Language Runtime (CLR) application code. Alternatively, you could run IronPython instead, which is already .NET native (see the Python wiki entry).

Pythonnet is available from the Python Package Index (PyPI), and features:
- .NET 4.0+ CLR namespaces are treated essentially as Python packages.
- Integrate Python apps with .NET services and components written in any language that supports the CLR (C#, VB.NET, F#, C++/CLI).
Just as important, there are some things .NET developers using Visual Studio should be aware that Pythonnet does NOT do, including:
- Transform Python into a .NET CLR language
- Produce managed code, which is code that will only execute under the management of the CLR
Pythonnet Installation Prerequisites
Pythonnet is compatible with Python versions 2.7 and 3.5-3.8 from python.org.
You can determine the version of Python you have installed on your computer by running:
python --version
Output should be similar to:
Python 3.8.2
If you do not have a recent version of Python installed, you can install Python from ActiveState.
You can check if pip is already installed and up-to-date by entering the following command:
pip --version
Output should be similar to:
pip 20.0.2 from C:\Python38\lib\site-packages\pip (python 3.8)
Pythonnet Installation
How to install Pythonnet on Linux, macOS and Windows.
Pip Install Pythonnet on Linux
Pythonnet and all of its dependencies can be installed on Linux using the following set of commands:
sudo apt-get install clang
sudo apt-get install libglib2.0-dev
sudo apt install git
sudo apt install nuget
mono /usr/lib/nuget/nuget.exe config -set http_proxy=http://my.proxy.address:port
/usr/bin/python3 -m pip install -U pycparser --user
/usr/bin/python3 -m pip install -U git+https://github.com/pythonnet/pythonnet --user --egg
Depending on whether you are using a proxy or not, and also whether Git and the Nuget package are already installed, you can remove certain commands.
Pip Install Pythonnet on macOS
Pythonnet can be installed on macOS by doing the following:
Use Homebrew to install mono .NET:
brew install mono
Update the following environment variables:
export PATH=$PATH:/Library/Frameworks/Mono.framework/Versions/Current/bin
export PKG_CONFIG_PATH=/Library/Frameworks/Mono.framework/Versions/Current/lib/pkgconfig
Use pip to install Pycparser and Pythonnet:
pip install pycparser
pip install pythonnet
Pip Install Pythonnet on Windows
The simplest way to install Pythonnet on Windows is to install the pre-compile Pythonnet.whl using the following command:
pip install pythonnet
or
python pip install pythonnet
Conda Install Pythonnet
To install Pythonnet for Anaconda, first activate your conda environment. For example:
Linux:
source activate <env_name>
Windows:
activate <env_name>
Enter the following command to install Pythonnet with Conda:
conda install pythonnet
Build and Install Pythonnet From Source
- Download the tar.gz source code archive from https://pypi.org/project/pythonnet/#files
- Extract the archive and comment out line 424: subprocess.check_call(cmd, shell=use_shell)
- Install Pythonnet, which has been packaged with distutils, using the following command:
python setup.py install
Once you start up Python in this directory (or else append this directory to sys.path), you can simply import clr and start using .NET assemblies.
How to Pip Install Pythonnet with Git
If you do not have Git installed, or it’s not up-to-date, refer to <Pip Install Git>
To install Pythonnet using pip and Git, run the following command:
pip install git+https//github.com/pythonnet/pythonnet
A modern solution to Python package management – Try ActiveState’s Platform
Dependency resolution is at the core of the ActiveState Platform. When you create a project and start adding requirements, the Platforms tell you what dependencies those requirements have.
The ActiveState Platform is a cloud-based build tool for Python. It provides build automation and vulnerability remediation for:
- Python language cores, including Python 2.7 and Python 3.5+
- Python packages and their dependencies, including:
- Transitive dependencies (ie., dependencies of dependencies)
- Linked C and Fortran libraries, so you can build data science packages
- Operating system-level dependencies for Windows, Linux, and macOS
- Shared dependencies (ie., OpenSSL)
- Find, fix and automatically rebuild a secure version of Python packages like Django and environments in minutes

Python Package Management In Action
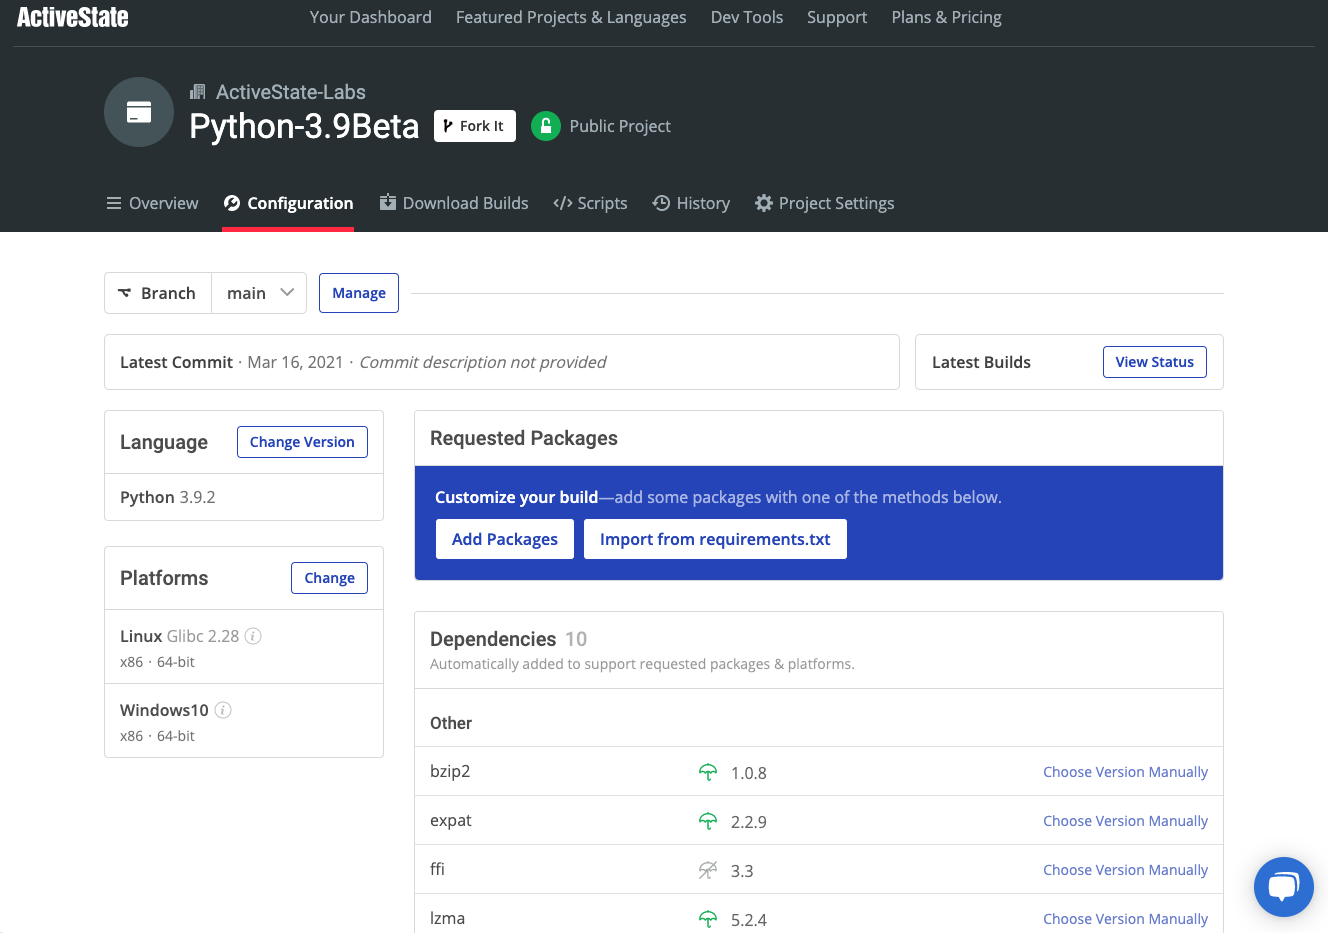
Get a hands-on appreciation for how the ActiveState Platform can help you manage your dependencies for Python environments. Just run the following command to install Python 3.9 and our package manager, the State Tool:
Windows
powershell -Command "& $([scriptblock]::Create((New-Object Net.WebClient).DownloadString('https://platform.www.activestate.com/dl/cli/install.ps1'))) -activate-default ActiveState-Labs/Python-3.9Beta"Linux
sh <(curl -q https://platform.www.activestate.com/dl/cli/install.sh) --activate-default ActiveState-Labs/Python-3.9Beta
Now you can run state install <packagename>. Learn more about how to use the State Tool to manage your Python environment.
Let us know your experience in the ActiveState Community forum.
Watch this video to learn how to use the ActiveState Platform to create a Python 3.9 environment, and then use the Platform’s CLI (State Tool) to install and manage it.


